What is Polymer Clay Conditioning?
When you buy polymer clay, it is in a cellophane-wrapped rectangular block, typically weighing about 2 oz, and measuring about 2.5” x 1.8” x .5”.
For jewelry-making, you’ll probably want the clay in a flat sheet first, 1-3mm thick. How do you get from that block of clay to a uniform flat sheet?
Nobody Said It’d Be Easy
The consistency of polymer clay varies. It varies by brand and type, the age of the clay, and how it’s been stored: Sometimes it’s really soft: You flatten it out with your rolling bar, and it’s ready for use right away. Sometimes it’s too soft: So soft that it won’t hold a shape. This clay needs to cool off (think 30 minutes in the fridge!) or rest on some absorbant surface (like paper). Sometimes it’s just right: A few passes through your pasta machine, and you have a soft pliable flat sheet ready to become jewelry.
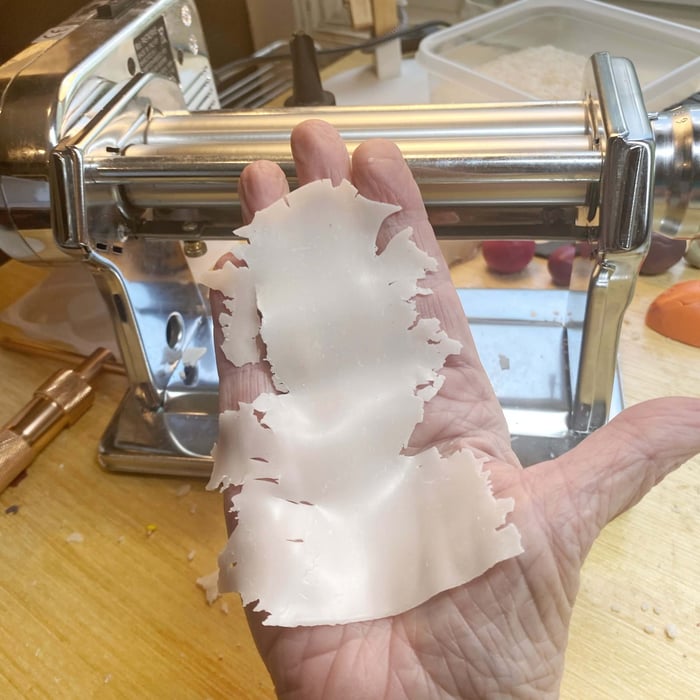
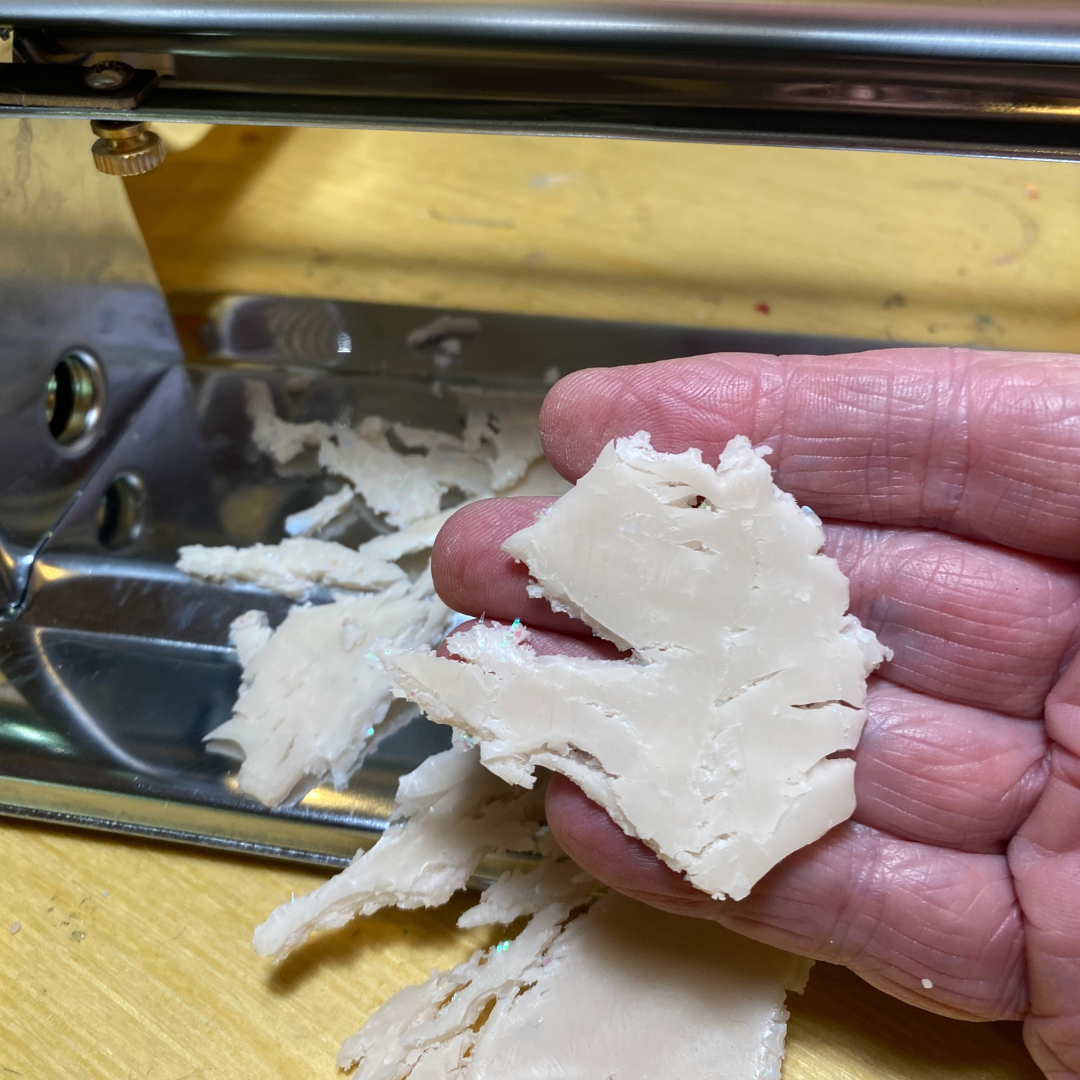
And occasionally it’s crumbly. Like when you put it through the pasta machine, and crumbs come out the bottom. You scrunch and scrunch and can barely get the crumbs to hold together.
Your goal with each of these is to end up with that beautiful pliable uniform flat sheet.
What, Actually, IS Conditioned Polymer Clay?
Conditioned polymer clay is ready to use in your jewelry or other projects. It is soft and bendable: You should be able to fold it in two without cracking at the seam.

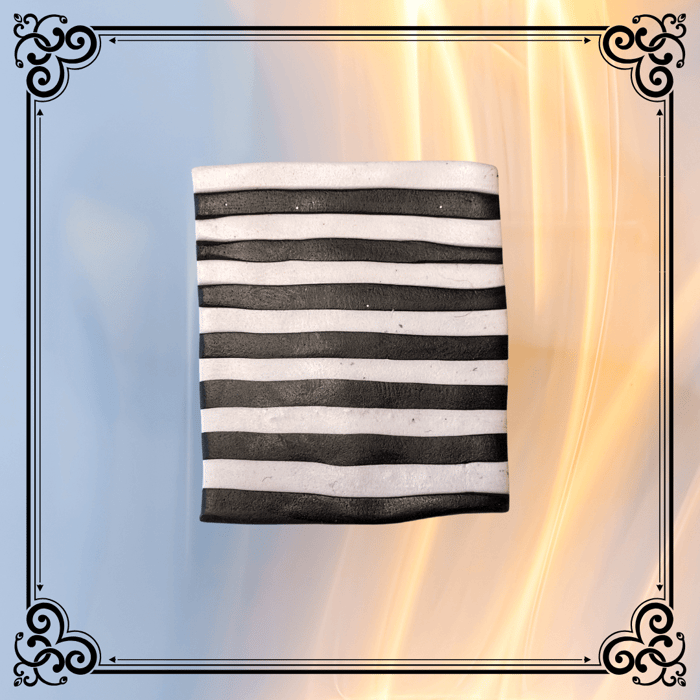
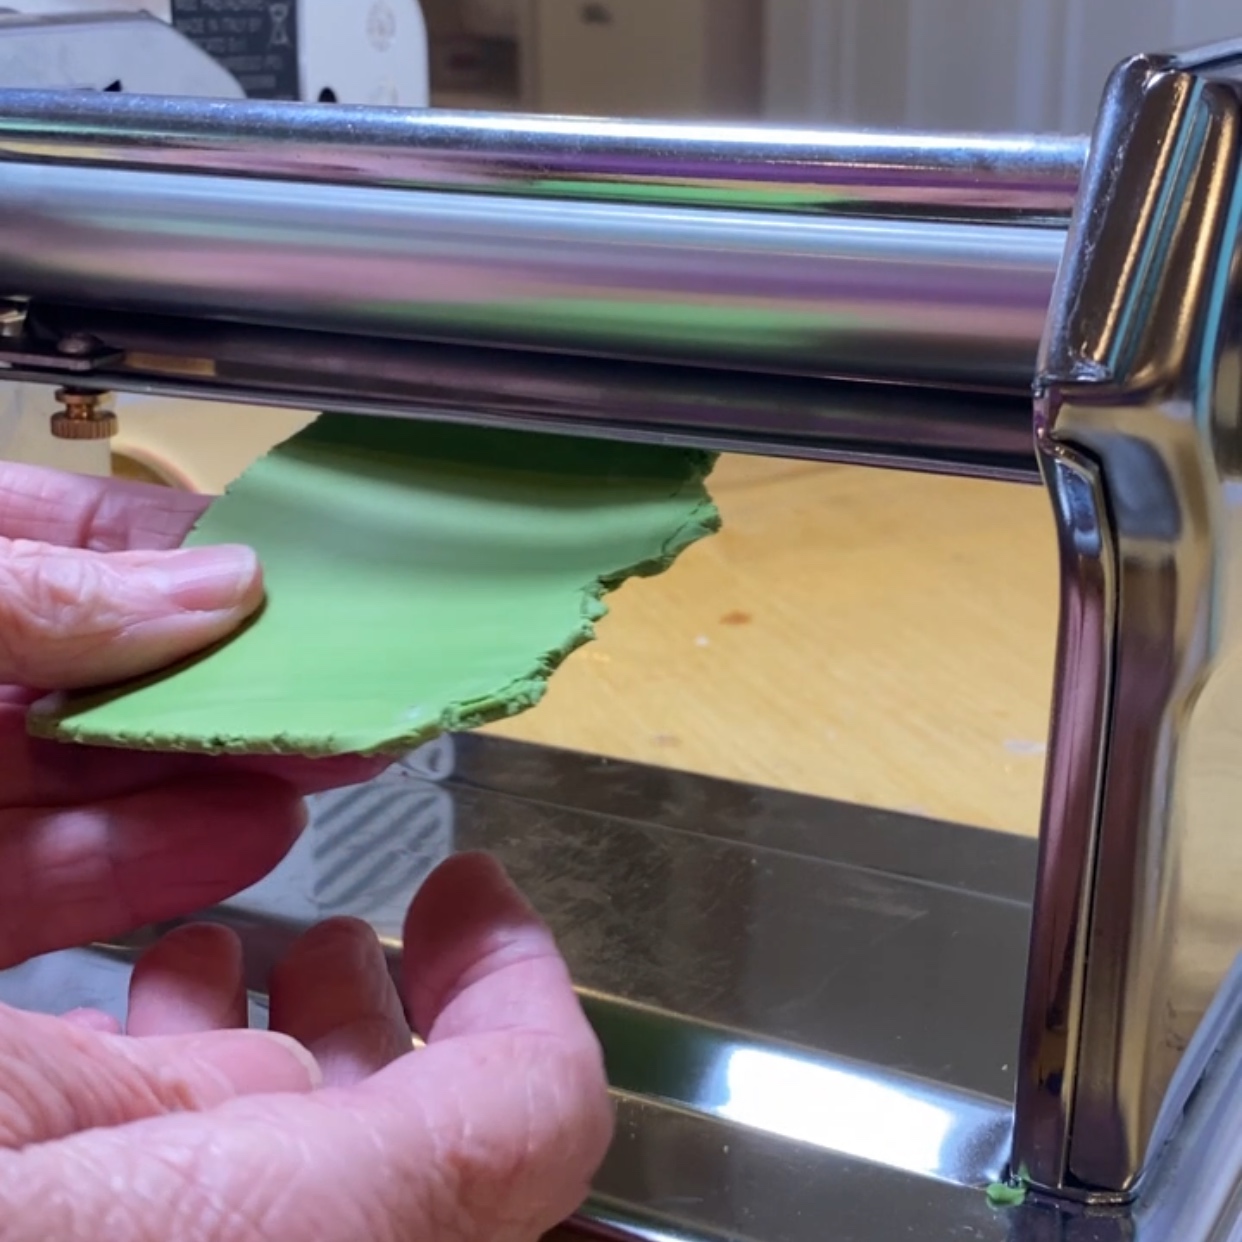
The jagged edges of early in the conditioning will give way to a smooth and ripply sheet. You see minimal bubbles or other surface irregularities. You can easily fold a sheet without cracking at the fold. It is ready!!
So How Do You Condition Polymer Clay?
The first step of conditioning rolling the clay in your hands to assess how it’s starting out. The best scenario is when the clay passes smoothly through the pasta machine - or under your roller- and is quickly becomes pliable!
The next best scenario is when it’s just a bit stiff, but the pieces hold together when you press them together. This clay is ready for your pasta machine (or acrylic roller). In general, 20-50 passes through the pasta machine will condition this clay.
Avoiding Air Bubbles!
You really really don’t want air bubbles- they look like pimples on the surface of your clay and then can break open when forming into jewelry, making little craters on the surface. And there’s no way of fixing these once you’ve made a piece of jewelry. So frustrating!!
Air bubbles can form when air is trapped in the clay as you roll it through the roller- usually when you’ve folded a piece so the fold is upward, going through the rollers last, and trapping air. Air bubble can also happen when you’re going very fast!
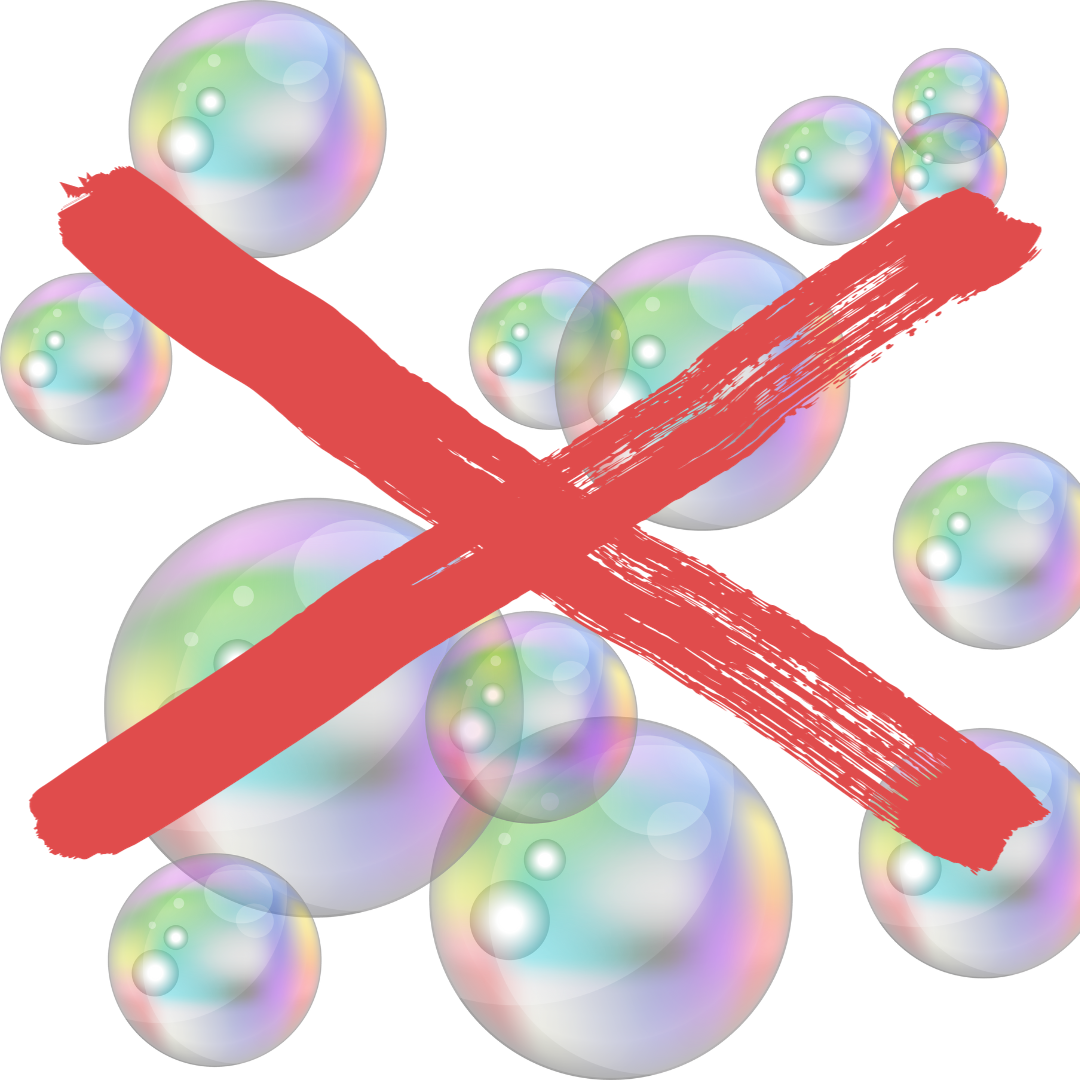
Look carefully at your clay after each pass through the pasta machine- use a pin or toothpick to take the top off any bubbles that develop, and keep rolling.
Your goal is slow and steady!! Keep making successive passes through the pasta machine - or using your roller. My favorite technique is to take the clay as it emerges from the rollers, turn it 90 degrees, and fold each side in toward the middle, making a triple layer.


The folded edges should be up and down then, not side to side, so escape of trapped air is facilitated.
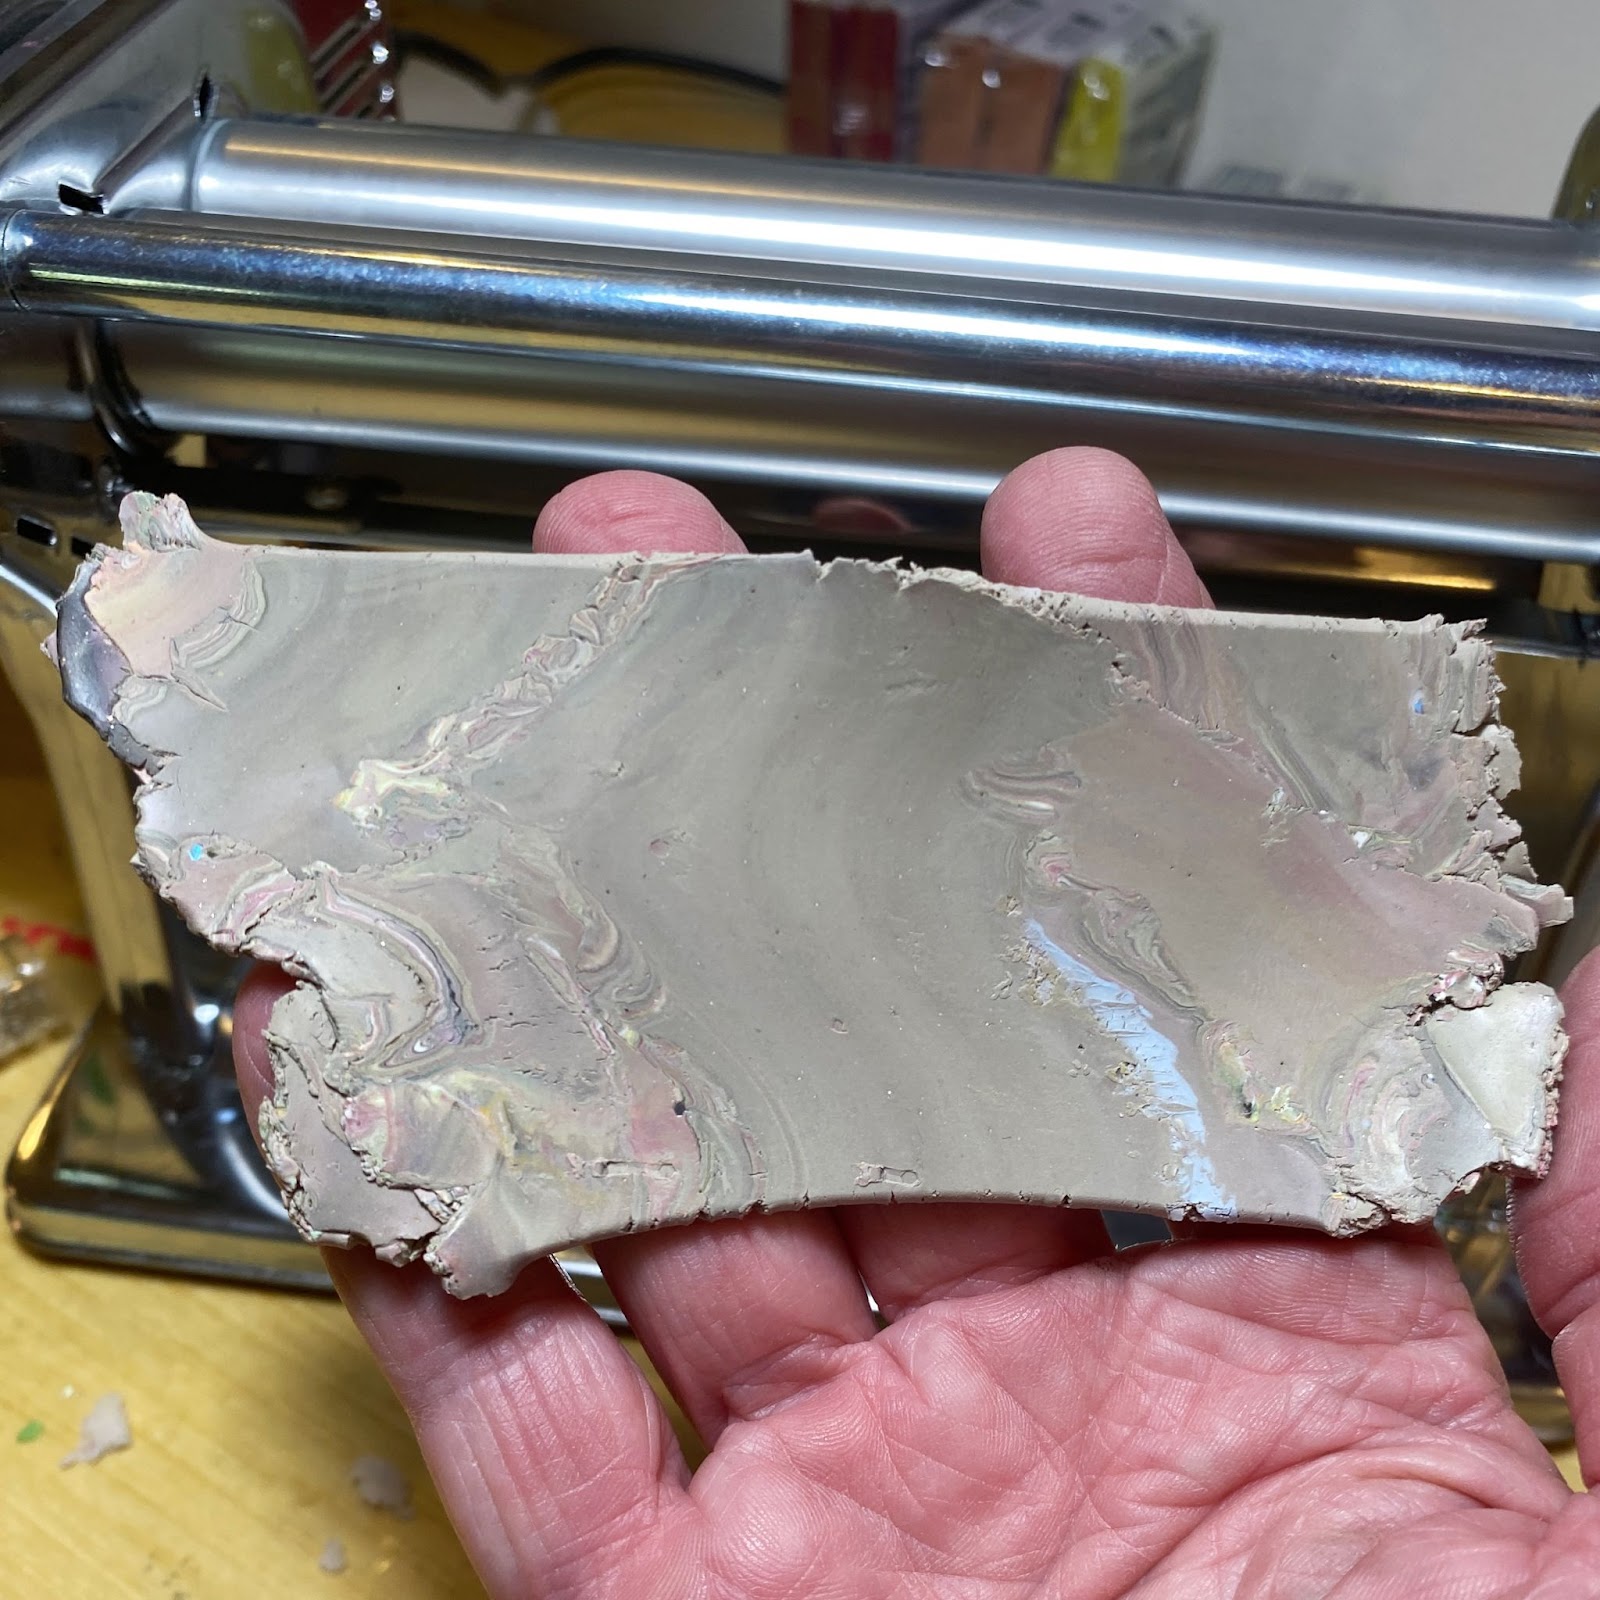
What about that Last Category- the Crumbly Clay?
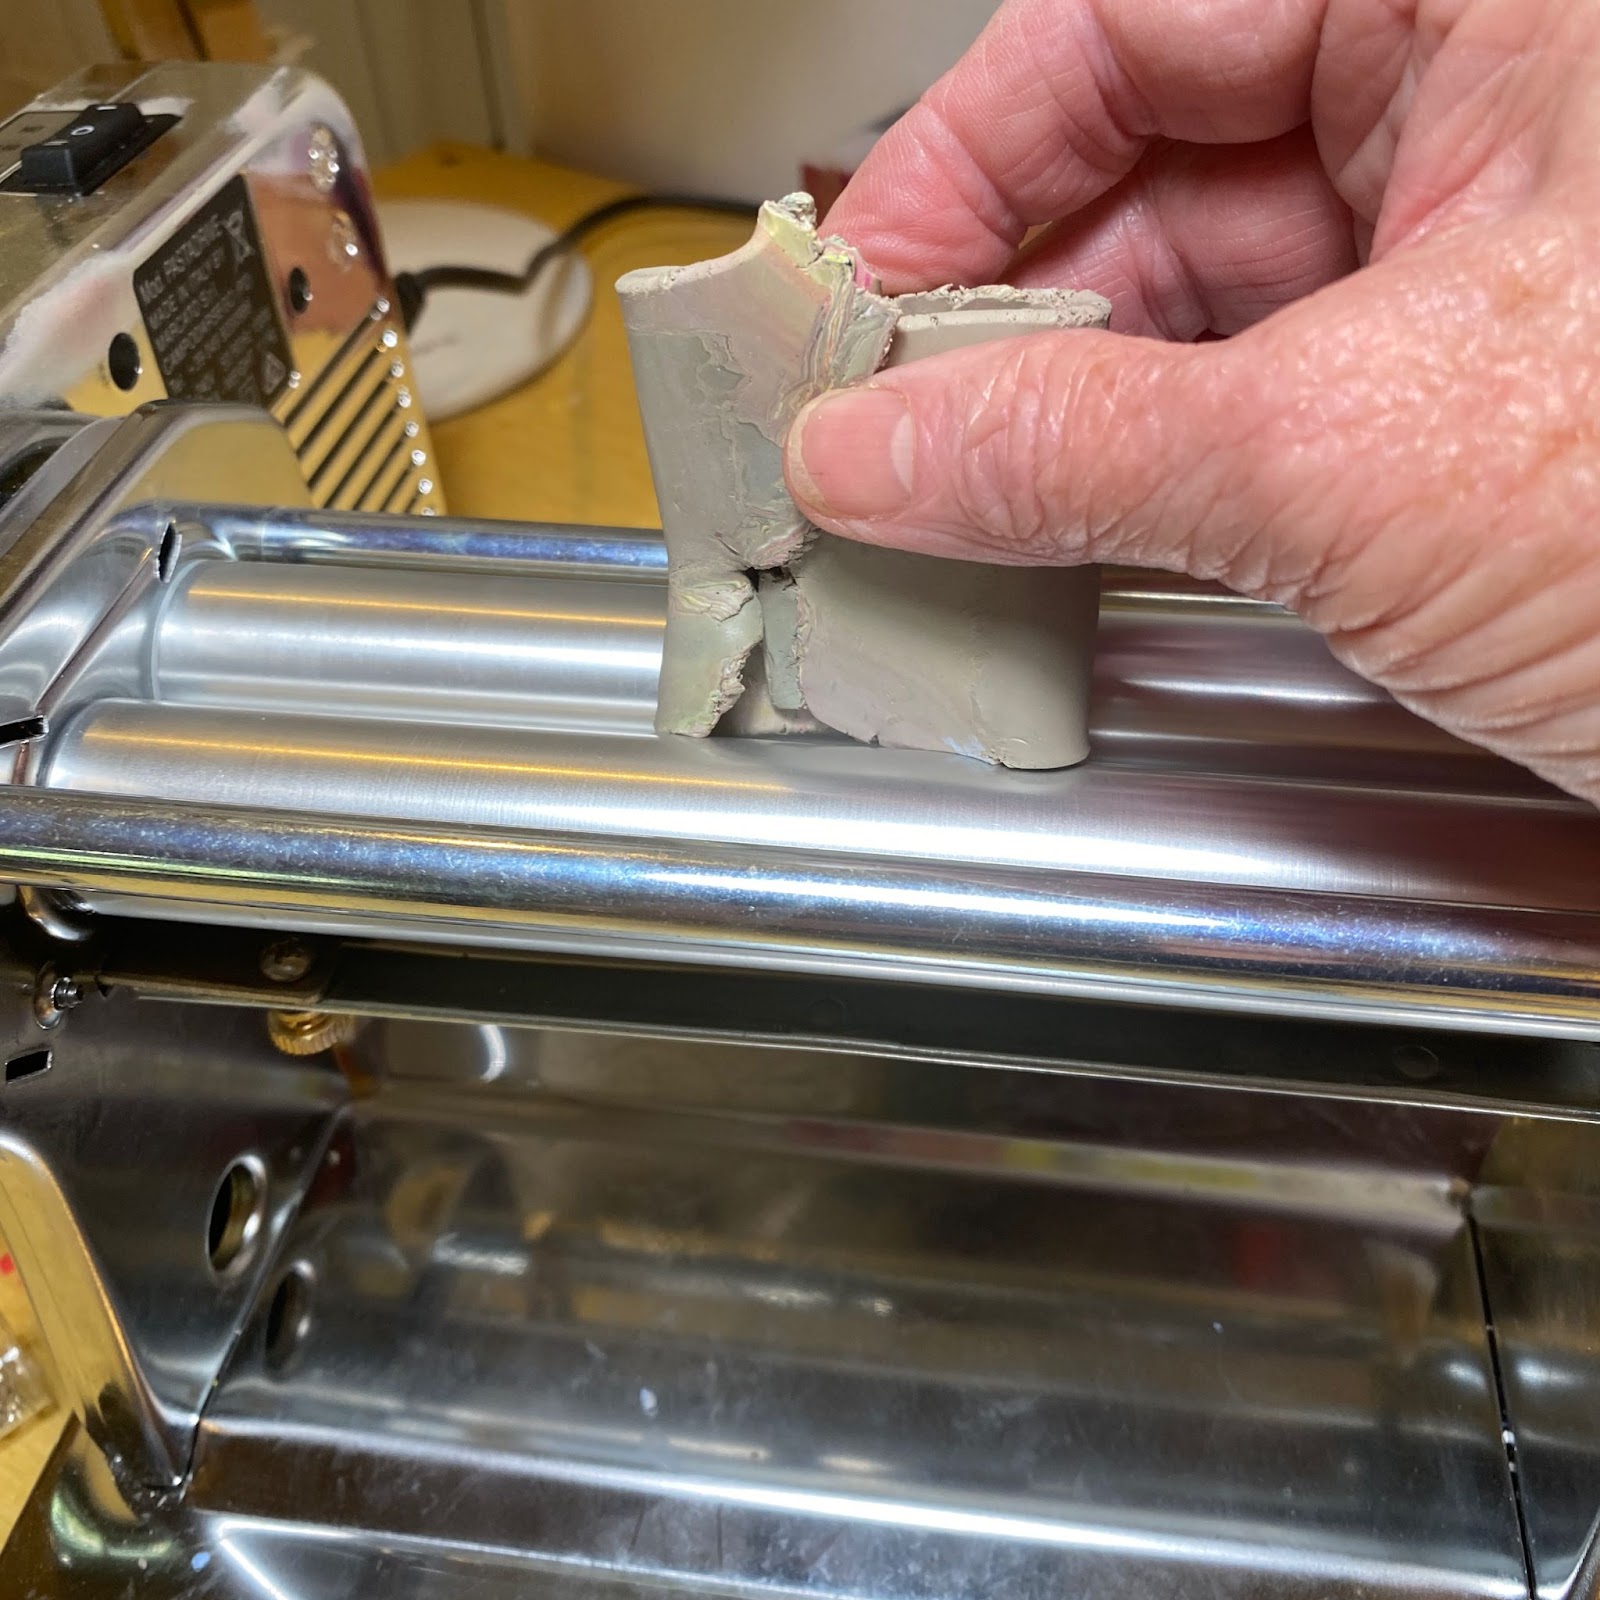
This is the most frustrating to deal with. With Sculpey clays, I’ve had the most trouble with the translucent clays- but they are so pretty!! Older clays and ones that have been stored in very cold or very hot places can also be troublesome. When you start hand-working these clays, they tend to fall to pieces, and the pieces won’t stick to each other when you try to put them back together. What to do?
Pre-warming these clays is the first step. Methods include:
Let it sit out in the room near an incandescent light bulb.
Use a gentle heating pad meant for lizard environments
Use body heat. Some clay crafters describe putting the crumbly clay in zip-lock bags and warming it in an armpit or bra. That’s true dedication!
Often this gentle heating will be sufficient so that you can begin to get the pieces to stick together as you roll them out with the pasta machine or your acrylic roller. If this approach isn’t working well for you, the next step is using an additive. You’ll find numerous internet sites recommending adding baby oil, vegetable oil, skin lotion. Don’t.

Respect the clay and the work you put into it by using products formulated for this use rather than household substances with no actual research showing their effect on clay or what happens with these additions over time.
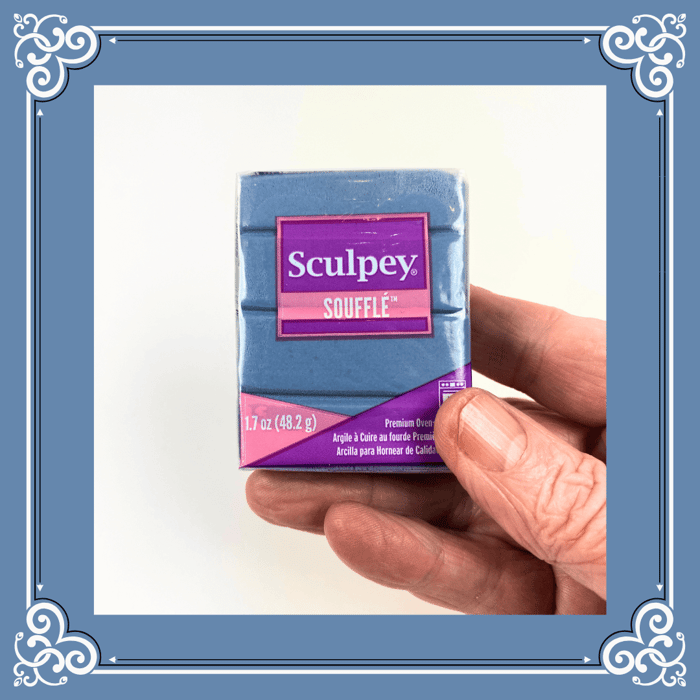
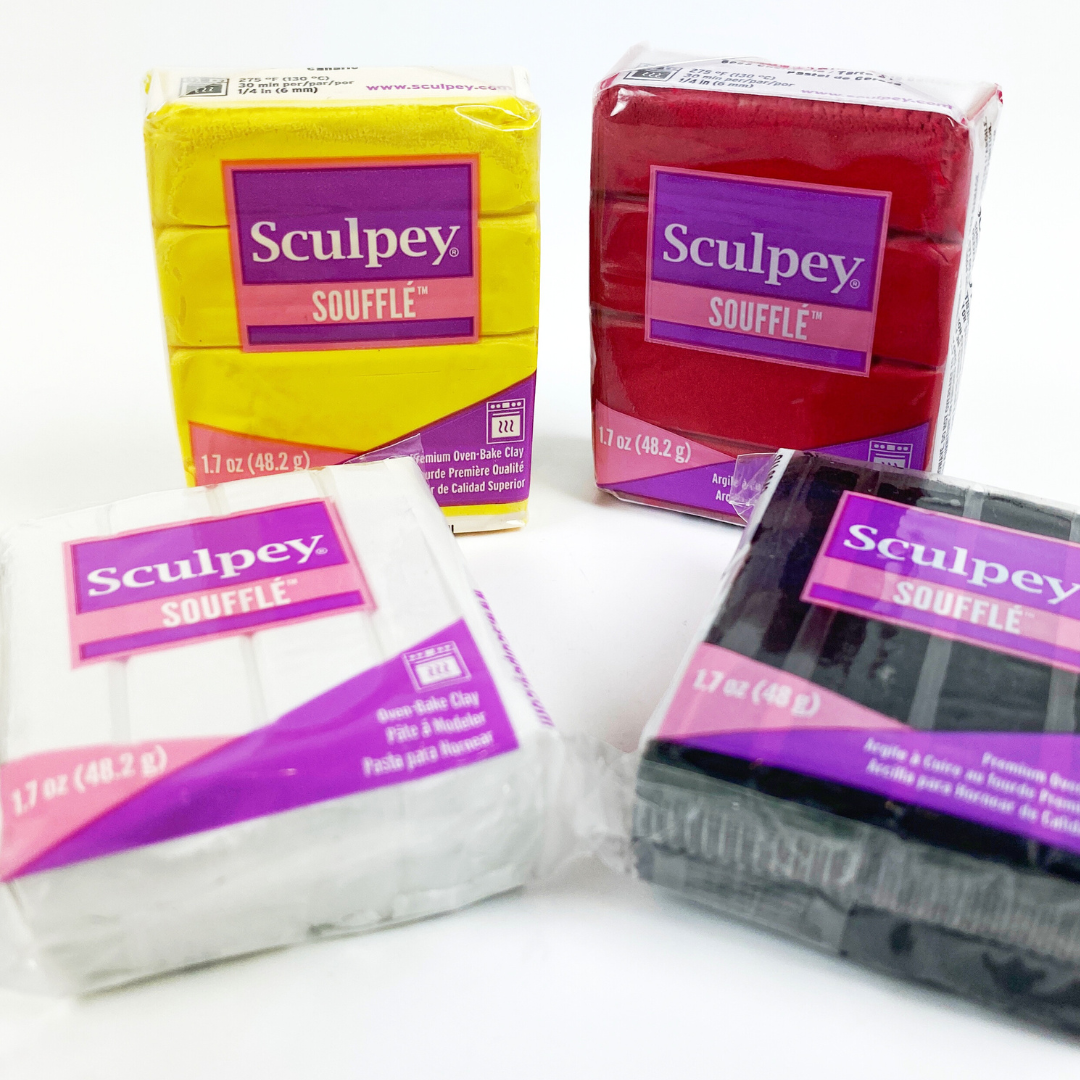
Sculpey makes Clay Softener and Thinner. Fimo makes Mix Quick Clay Softener.

Other manufacturers make similar products. Use these, adding a few drops at a time, hand working and rolling the clay, until you get the consistency you want.
How long does the Polymer Clay stay conditioned?
When you clay finally reaches that lovely state of foldability without cracking and without surface irregularities like bubbles- how long does the conditioning last? In my experience, the clay becomes a bit less pliable every day. It’s a good habit to recondition the clay before each use. Unless you store it for a very long time, subsequent conditioning will be much easier than the first time!
Congratulations! But the most challenging part of the conditioning is behind you. Now Go and Create!!