Alright, fellow polymer clay enthusiasts, let's get started demystifying some of the strange words that are tossed around by people talking about our beloved craft. Today, we're unraveling some polymer clay terminology, breaking down the complexities into colorful, manageable pieces.🌈✨
A Log? A Log of Clay?
Here we go, my polymer clay pals, diving into the colorful world of clay logs. The first confusion? That logs and many canes are about the same size and shape: About an inch square and 3-4 inches long. Because of this similarity, newbies often use log and cane interchangeably, which isn’t the way of the true clay believer.
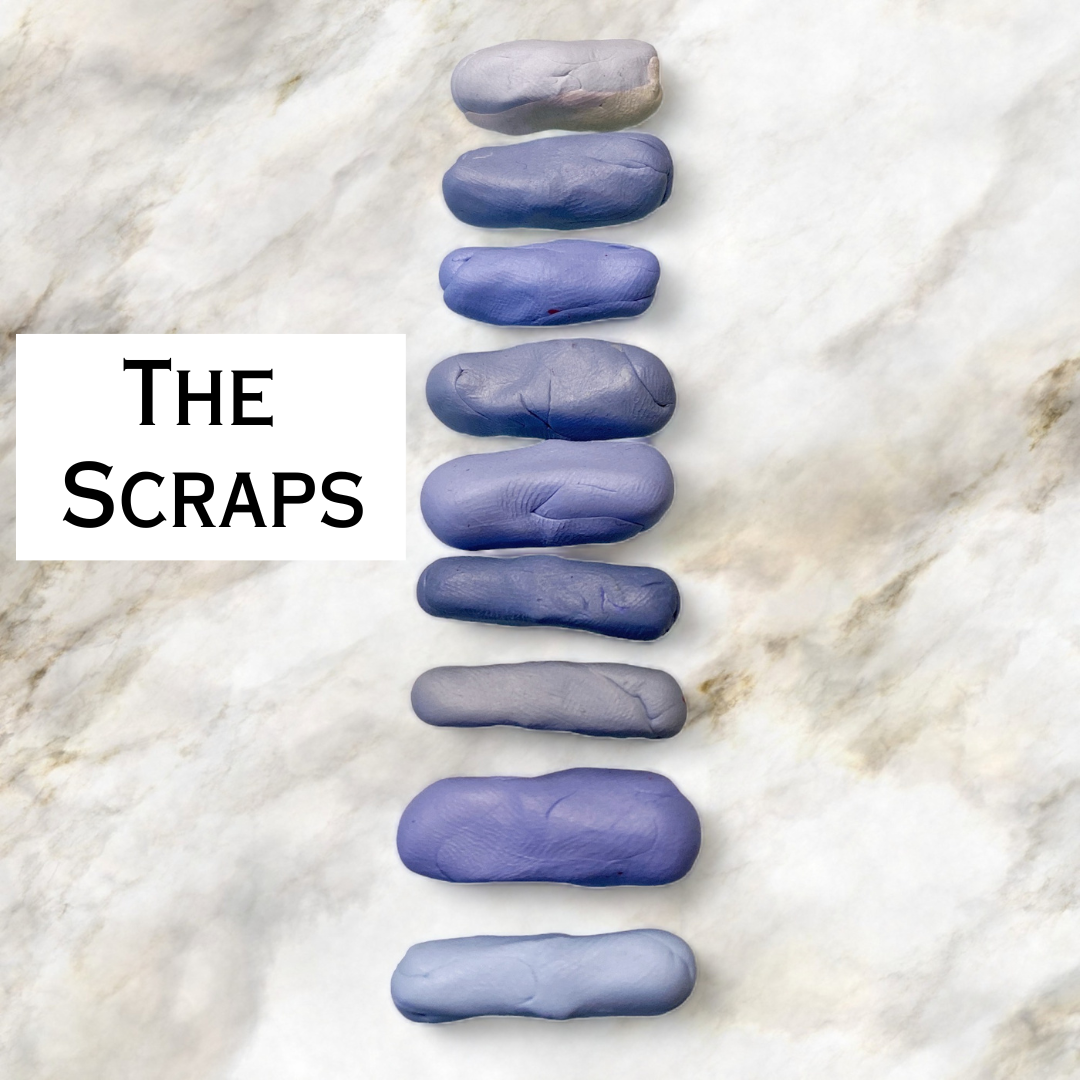
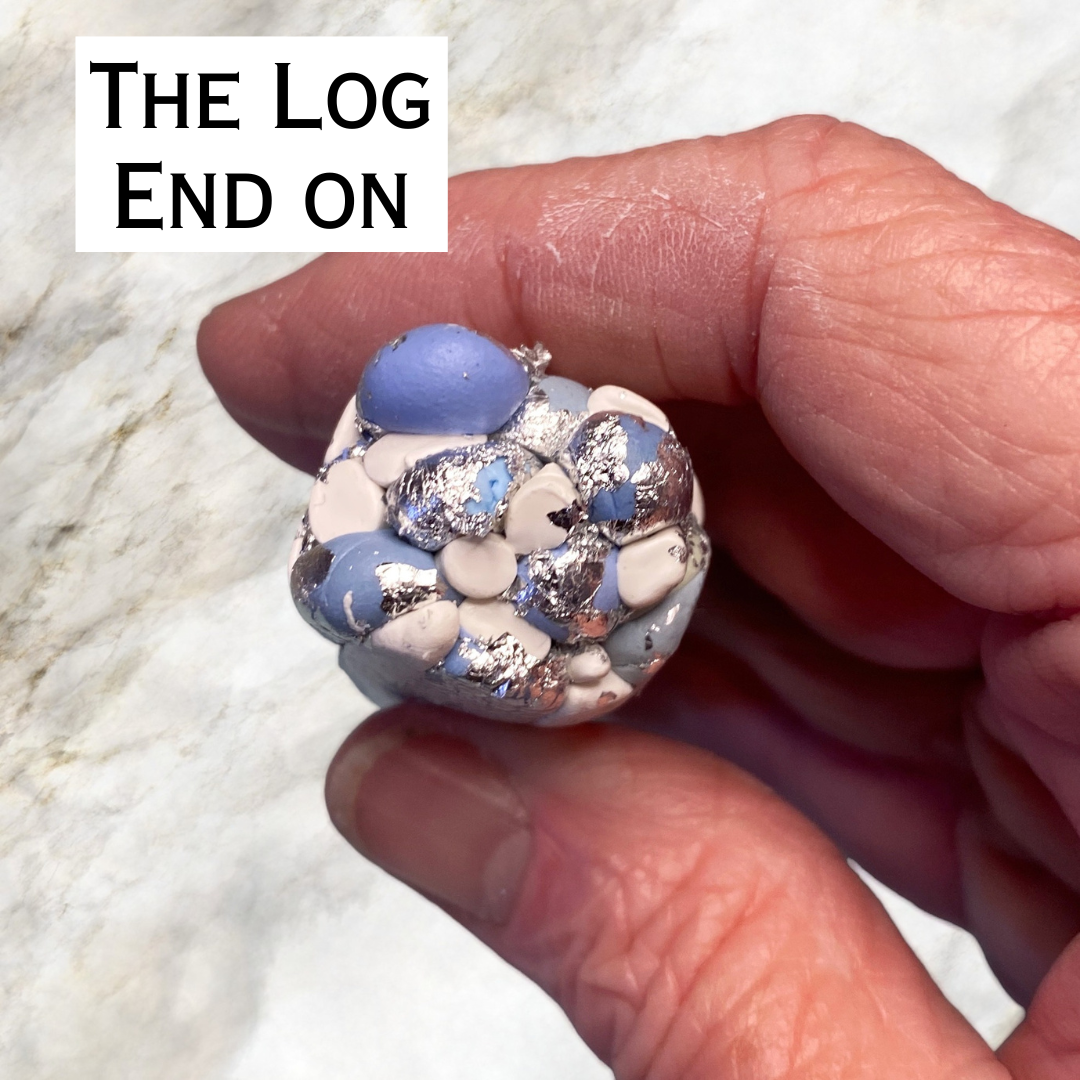
Logs are usually conglomerates of many chopped-up colors. Sometimes this is a carefully chosen blend of colors (think making stone look-alikes!). Other times the chopped-up colors are random scraps- or colors chosen because they look great together.
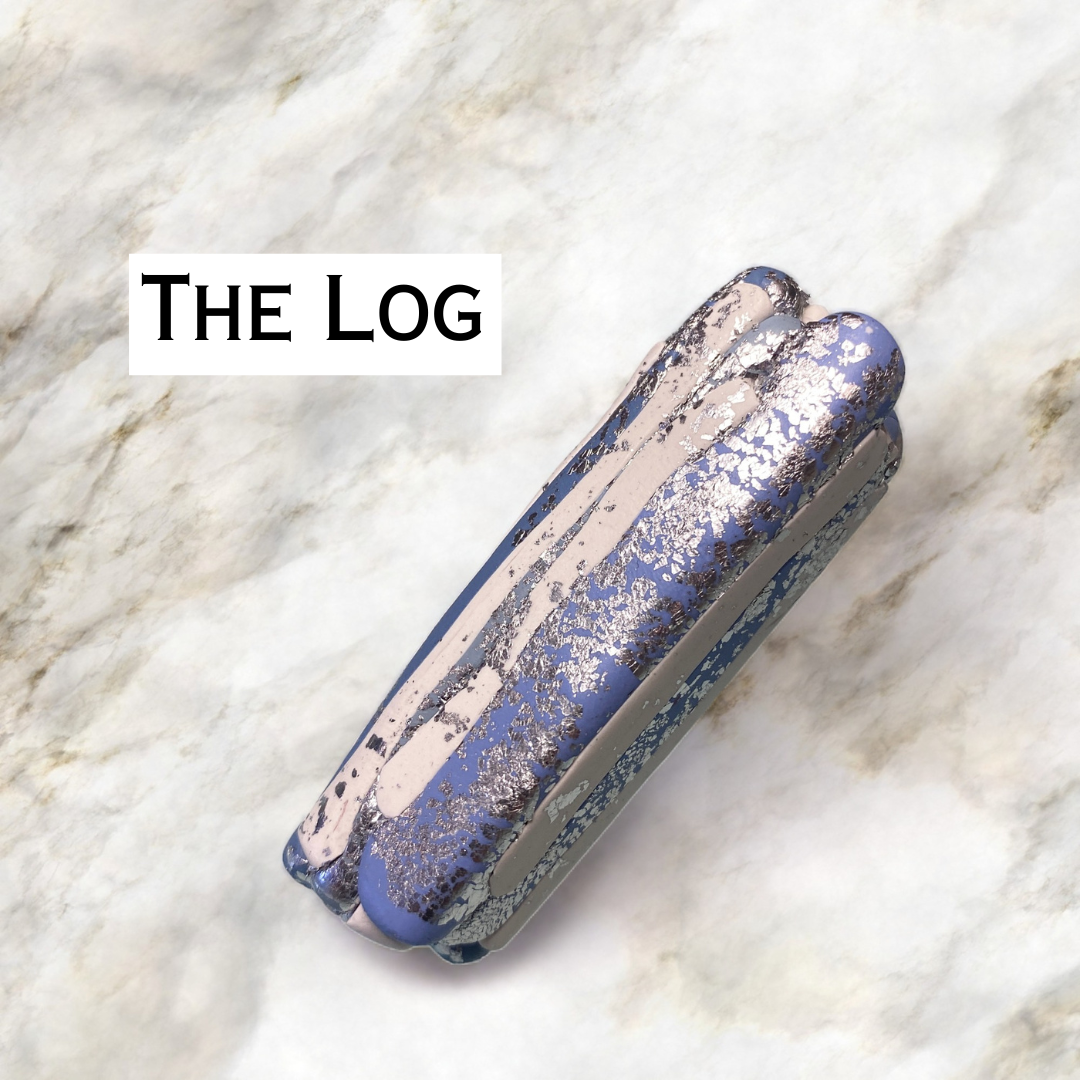
Makers do marvelous things with logs. Some add acrylic paint, to make wavy lines between the chopped-up pieces. Some add faux gold or silver sheet- or even more fantastical metallics.
So how do you make a log? Start by picking out gorgeous colors of clay, each adding its unique flair to the final piece. Chop them into tiny bits. Mix thoroughly! Then press the pieces firmly together, working them till they stick together well and allow you to mush them into a shape (usually square, we’ll talk about that later) about 1” x 3-4”. Voilà,! You have a log, like a bit of condensed rainbow waiting to burst with creative potential! 🪵
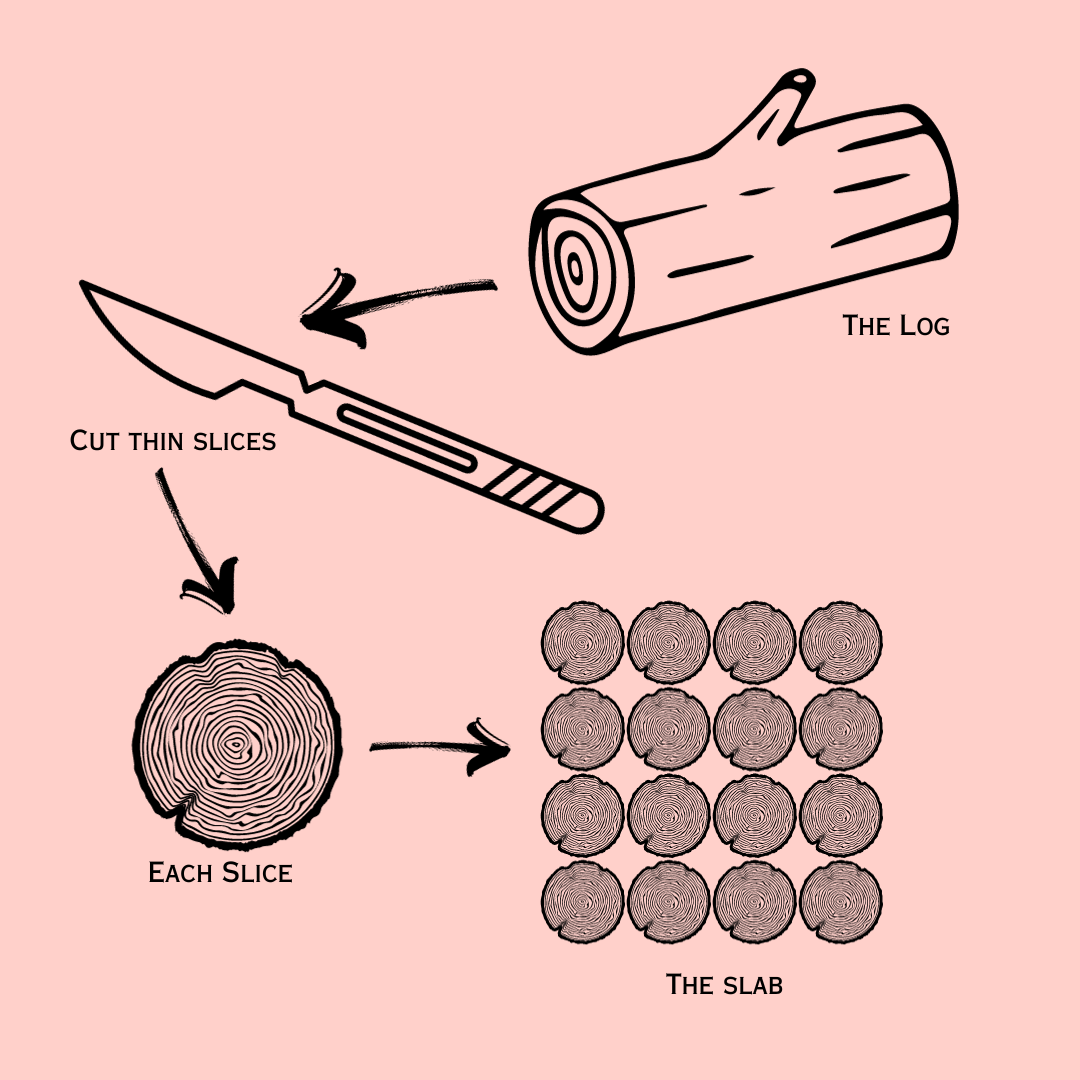
The next step is slicing thin pieces from your log. Why? You’re going to make a patterned slab! (see below!)
As we get the hang of it, slicing thin pieces from this log reveals a mesmerizing array of colors and patterns. These slices will become our artistic building blocks, as part of the slab, another key player in our polymer clay journey.
A Cane that’s not for Walking?
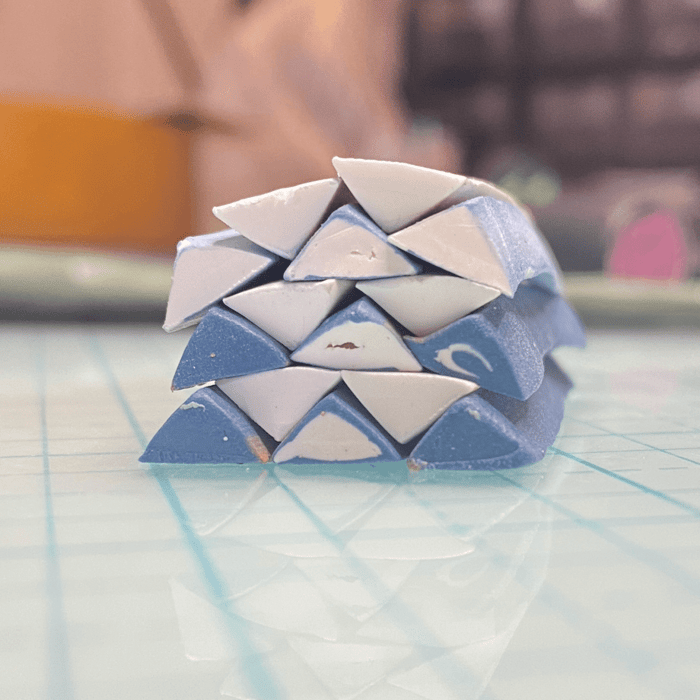
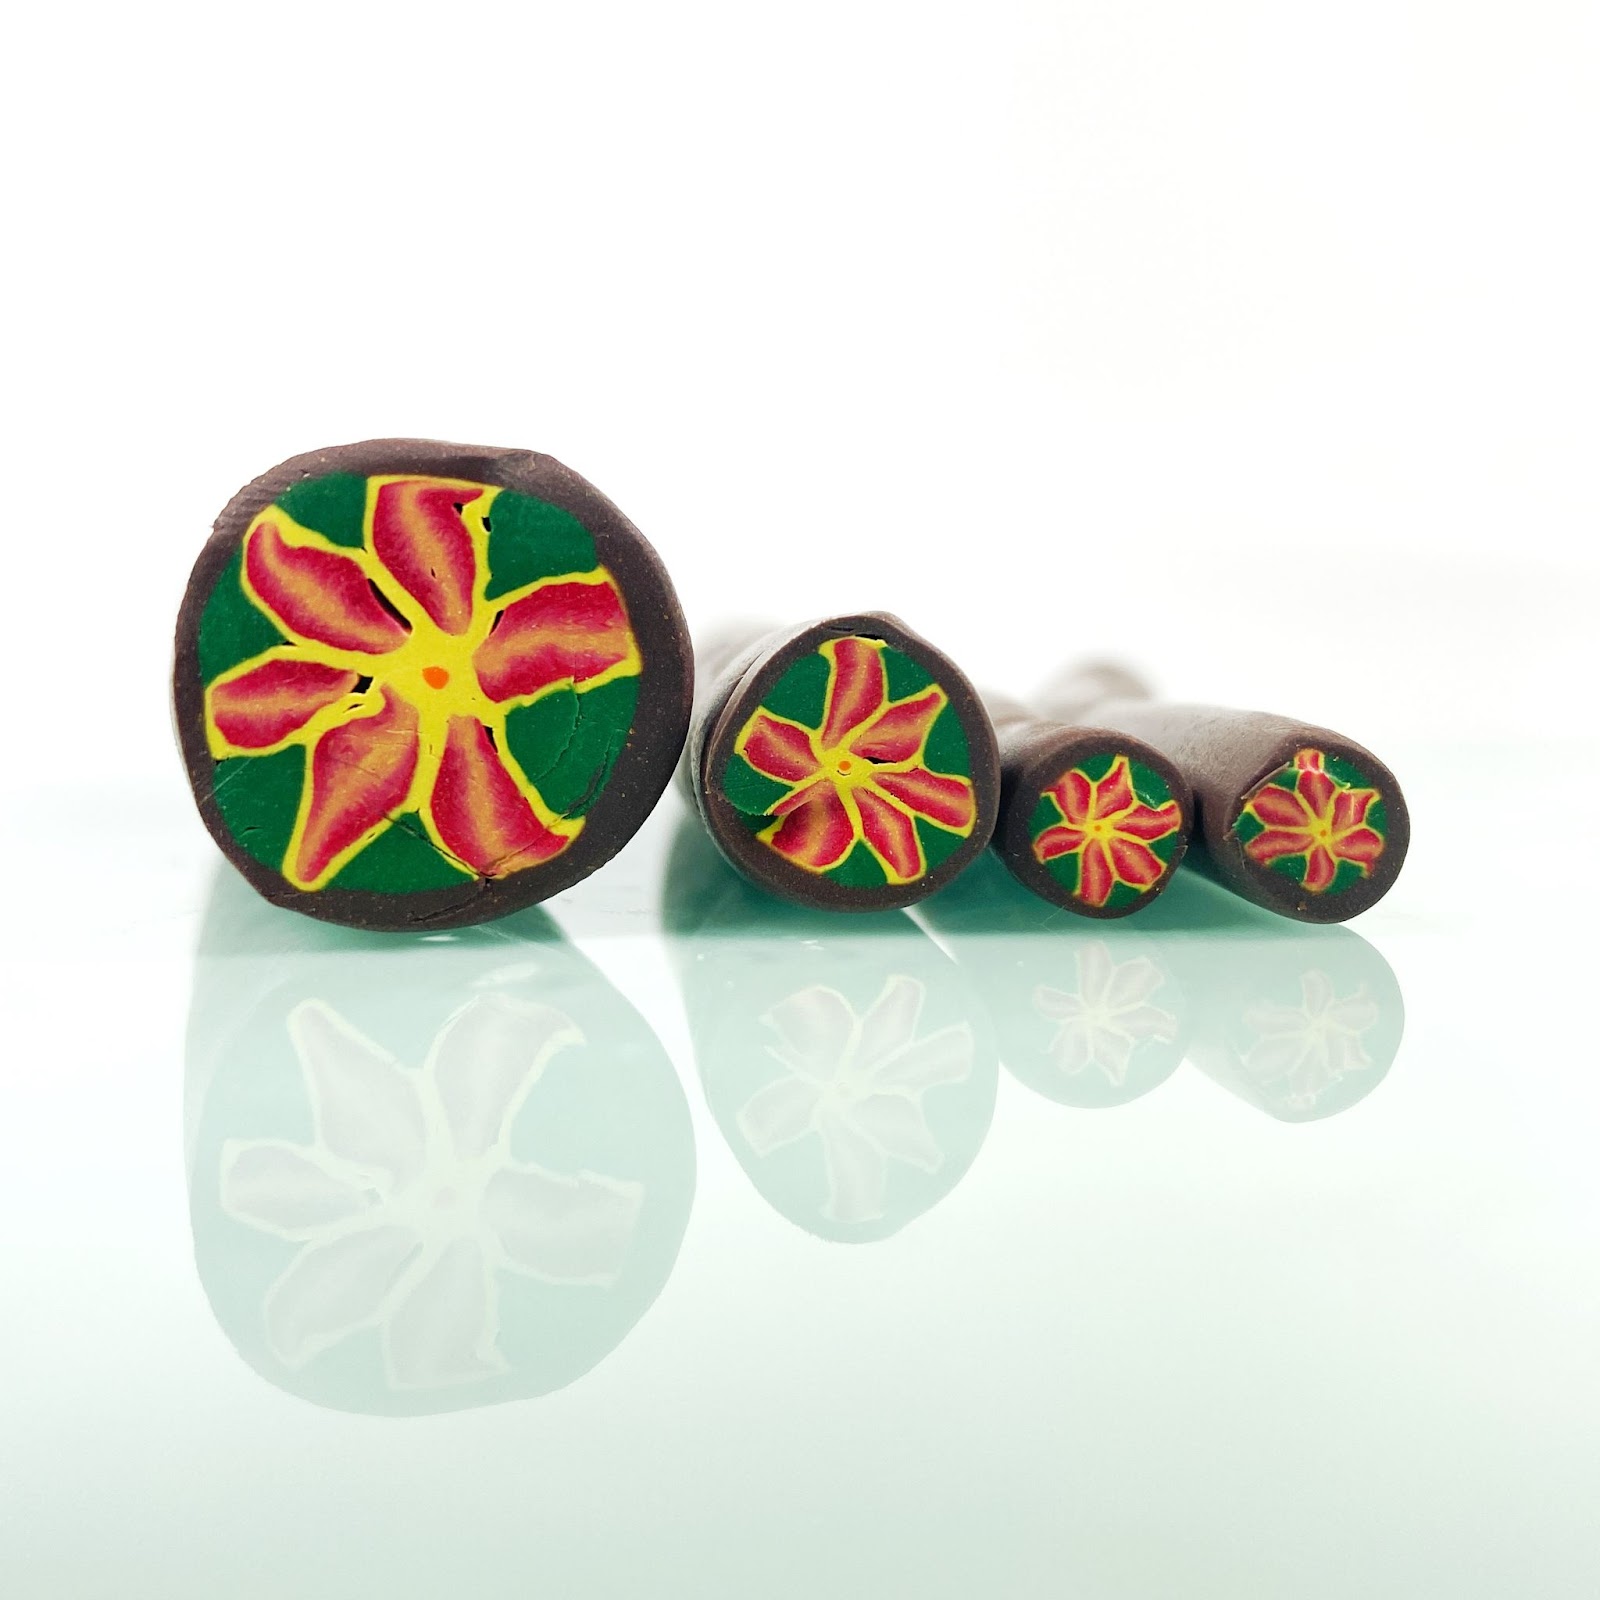
Now, on to canes, our miniature works of art. Canes are wholly deliberate as opposed to the semi-randomness of logs. Picture a cylinder or square rod where the design extends consistently and identically along its entire length. It's like a tiny, repeating wonderland of intricate florals or mesmerizing geometrics. When we slice it, each piece shows the exact same pattern, giving us precision and repetition in our creations. Other canes are made in triangles, rectangles, or hexagons.
Take, for example, the bull's eye cane – a simple yet striking pattern of concentric circles, like a colorful target. Slicing this gives us dozens of small thin clay coins, all with exactly the same design.
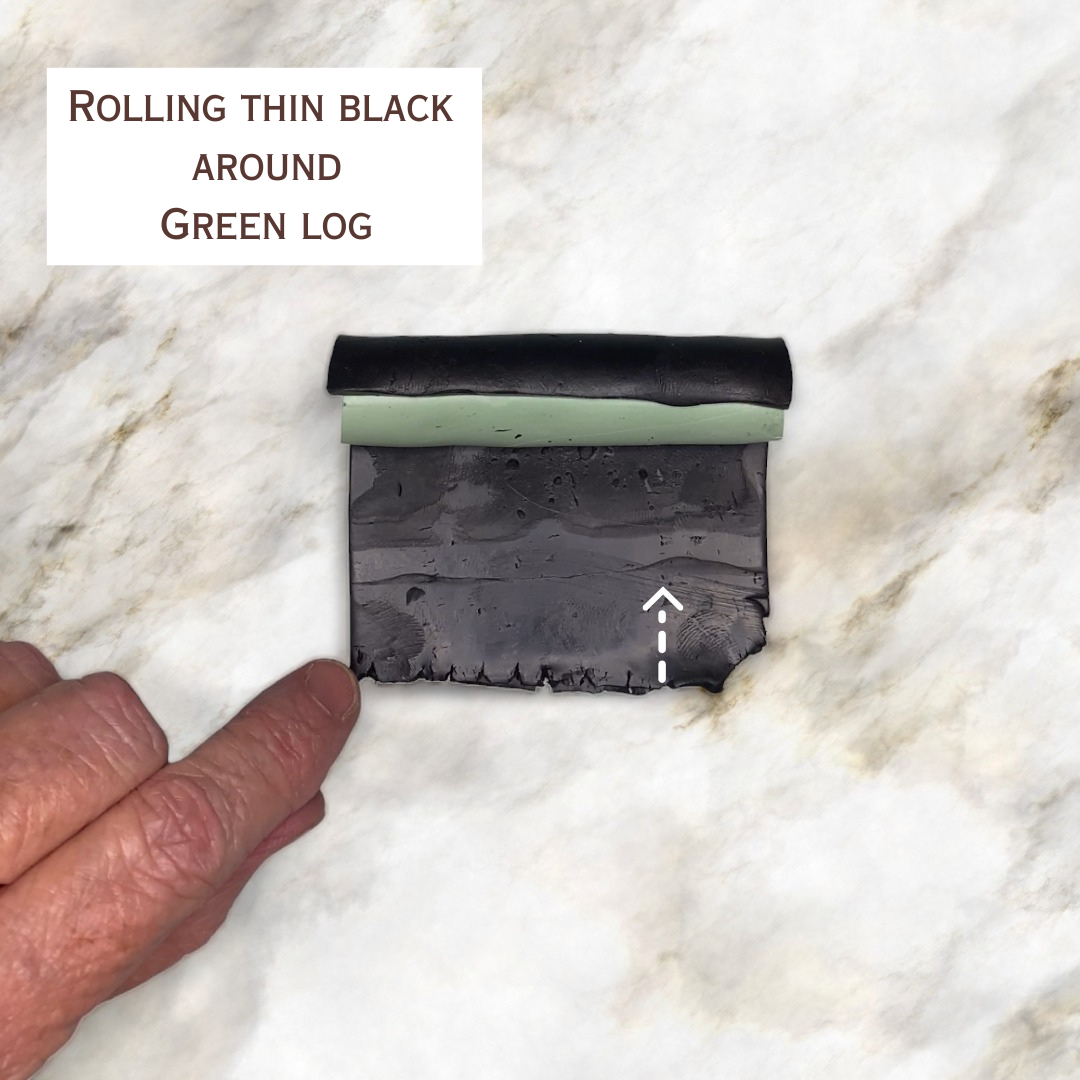
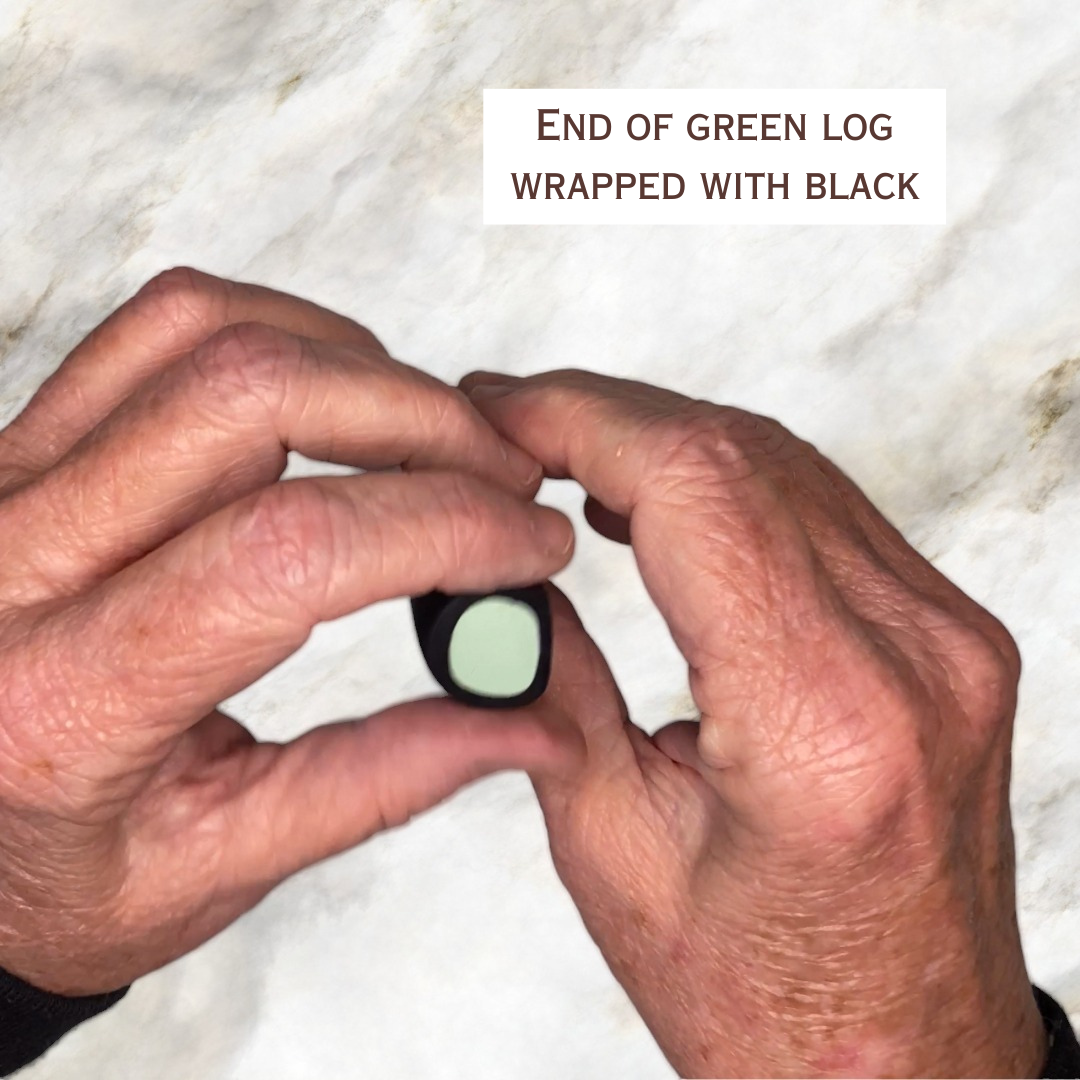
Canes, my friends, are our secret sauce for achieving detailed and repeatable designs in polymer clay art.
A slab? Like Butter or Marble?
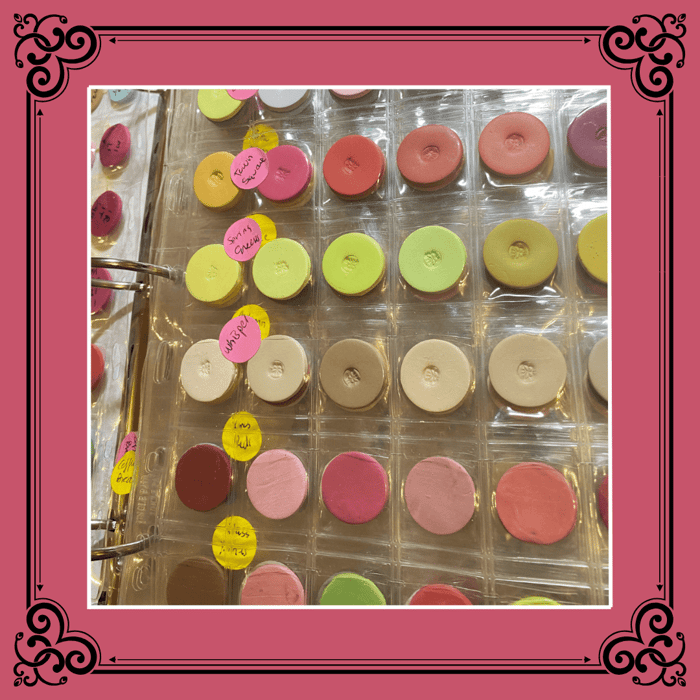
Now, class, let's chat about slabs – our versatile format for artistic exploration. A slab starts with, well, a slab of polymer clay. We usually start with a piece about 3” by 3” up to 6” x 6”.
What’s that you’re saying? Oh, you want to know if there are different types of slabs? Well yes, there are!! The two basic types of slabs both start with a flat piece of polymer clay.
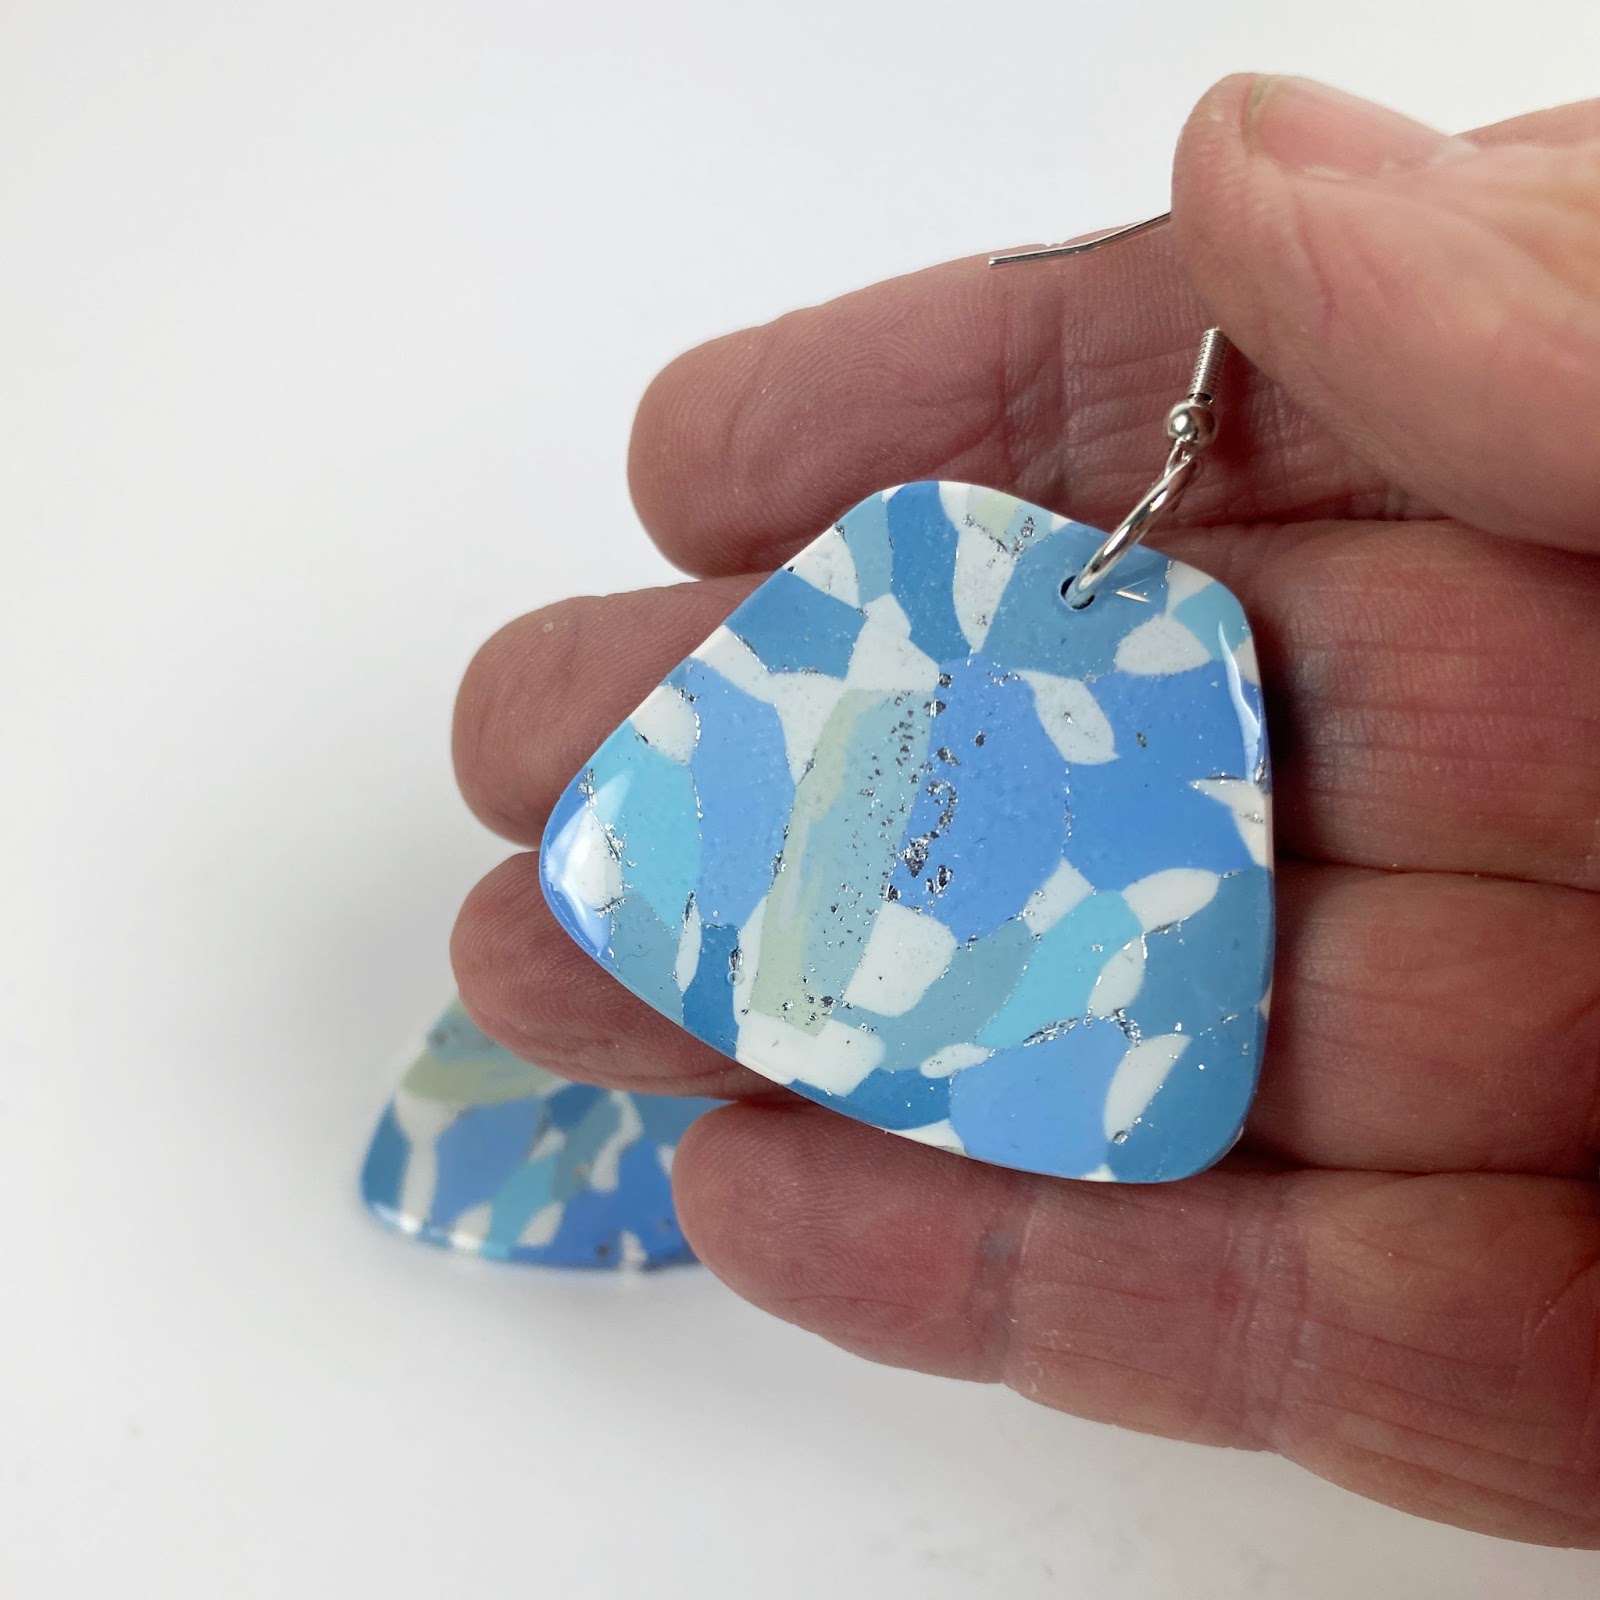
First up, we've got constructed slabs. For these, you usually use a background clay slab rolled out on the thickest or next-to-thickest setting on your pasta machine. You then make tiny components for a polymer clay picture and press them gently into the background color in a pleasing pattern. This can be either totally flat, or it can have elements like a flower sticking up from the surface a millimeter or two. You can delicately craft stems, leaves, and flowers from tiny clay pieces, or make a geometric or graphic pattern, always letting that background color peek through. A bit like a painter's brush stroke, where the background plays a crucial role in highlighting the foreground elements.
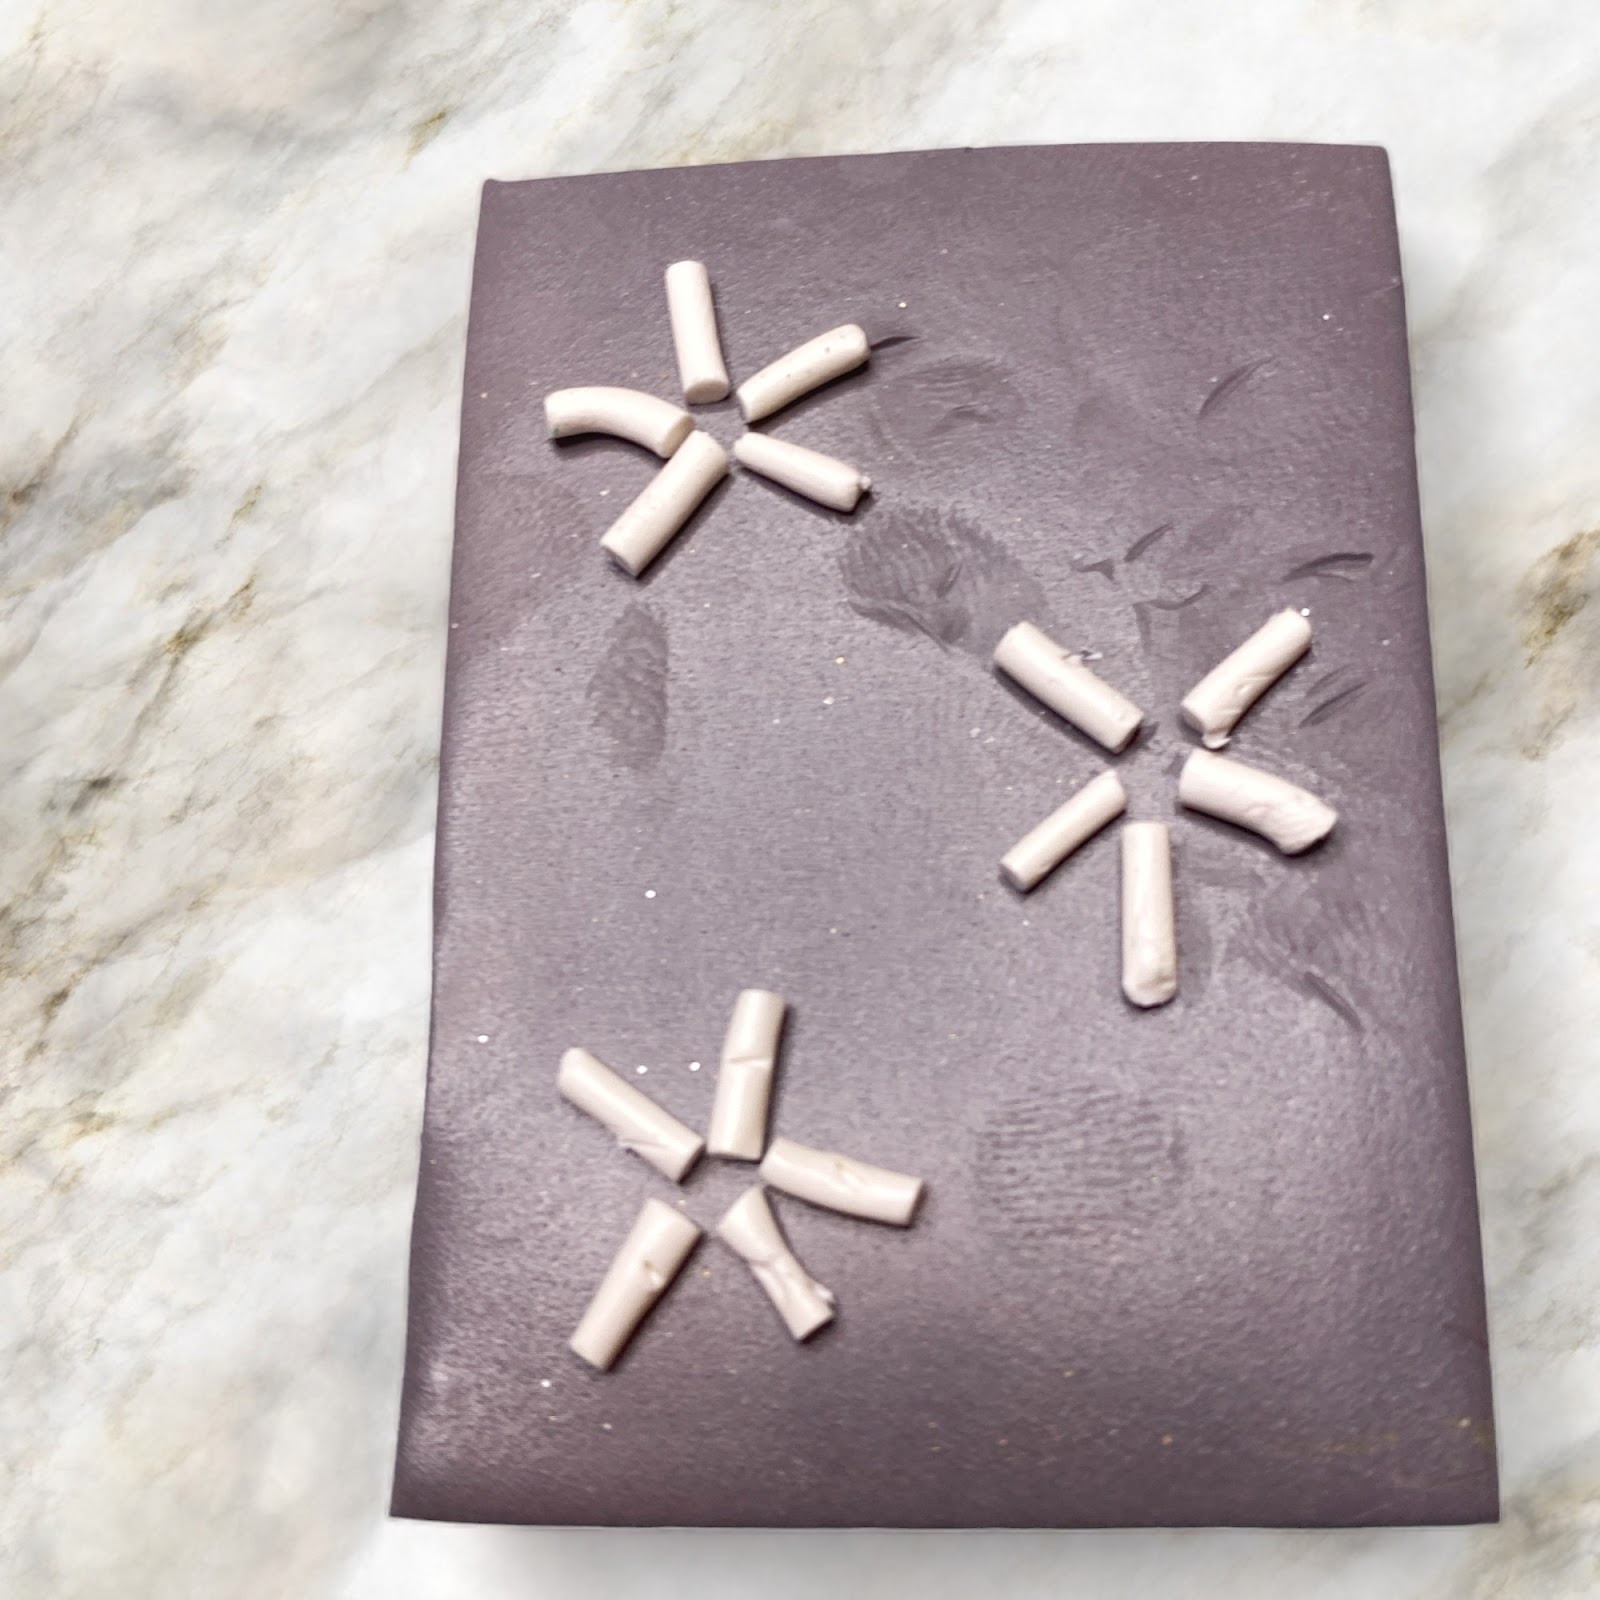

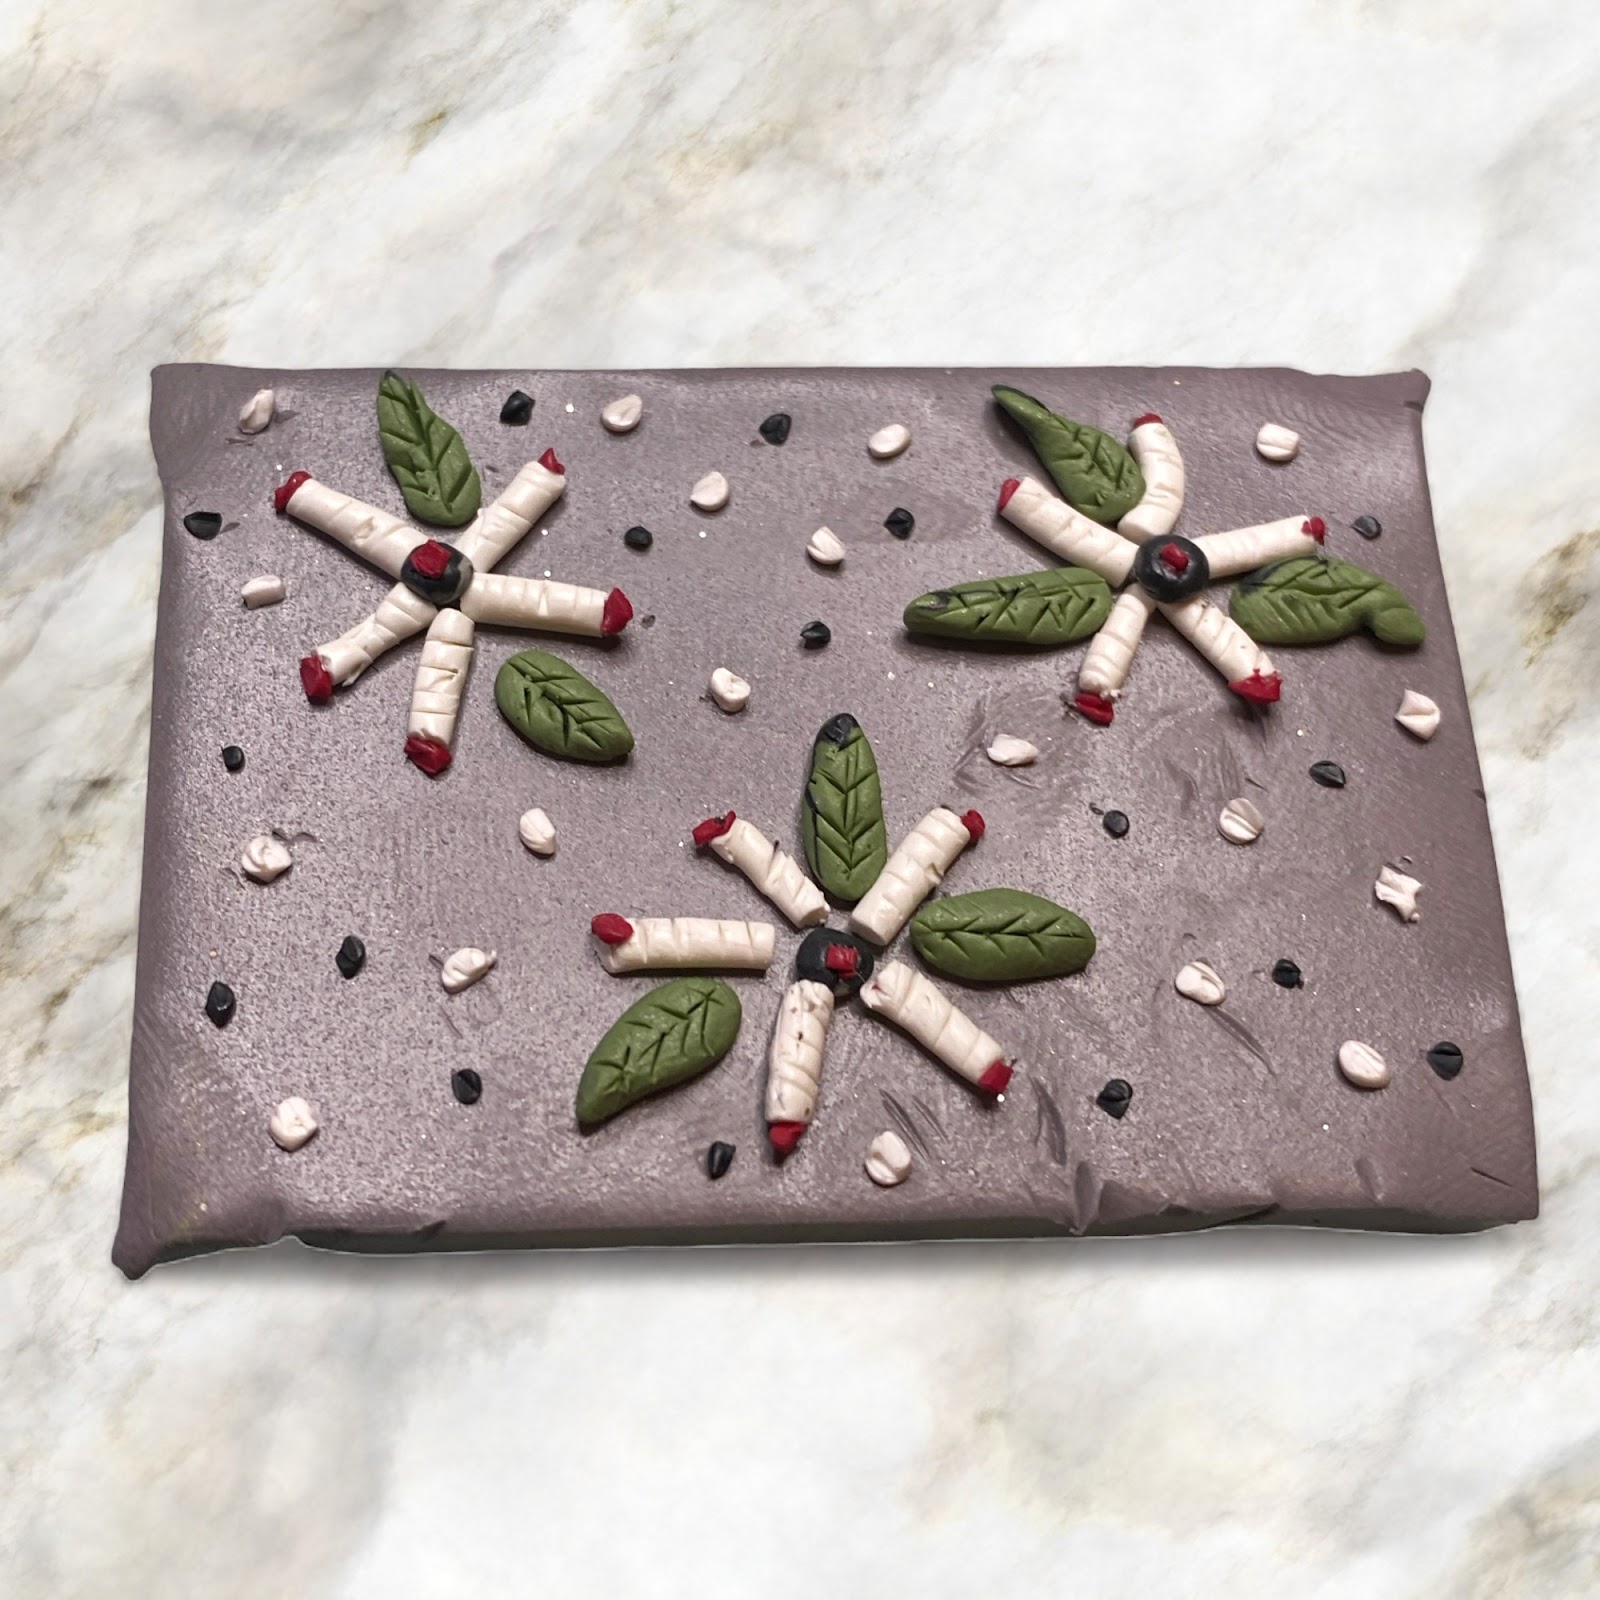
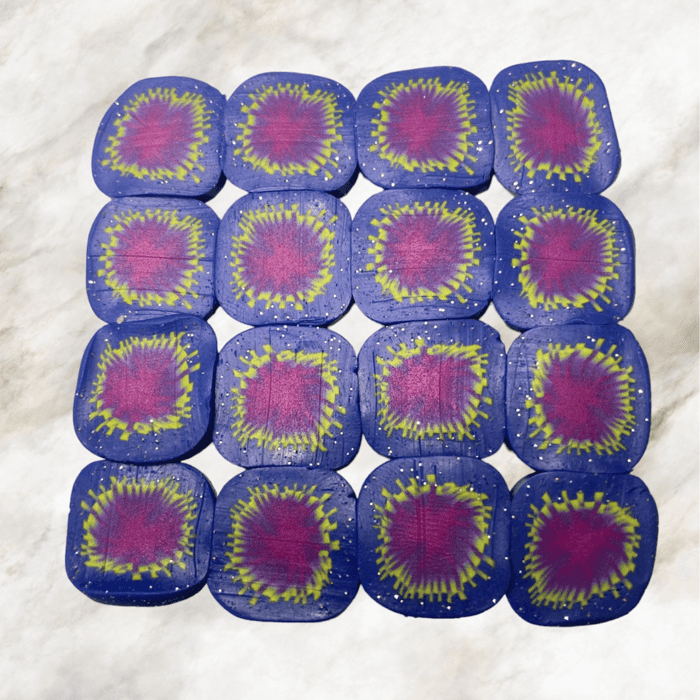
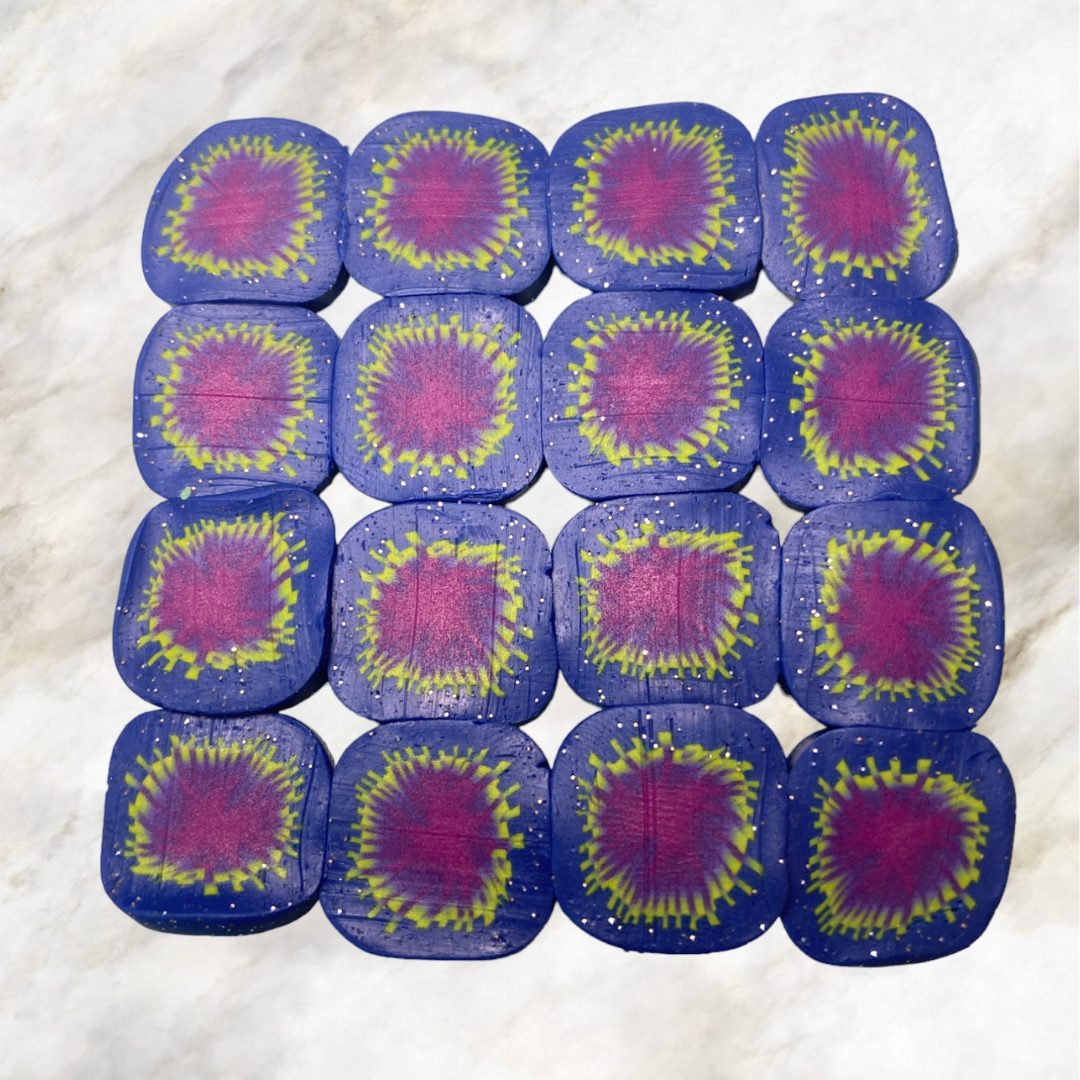
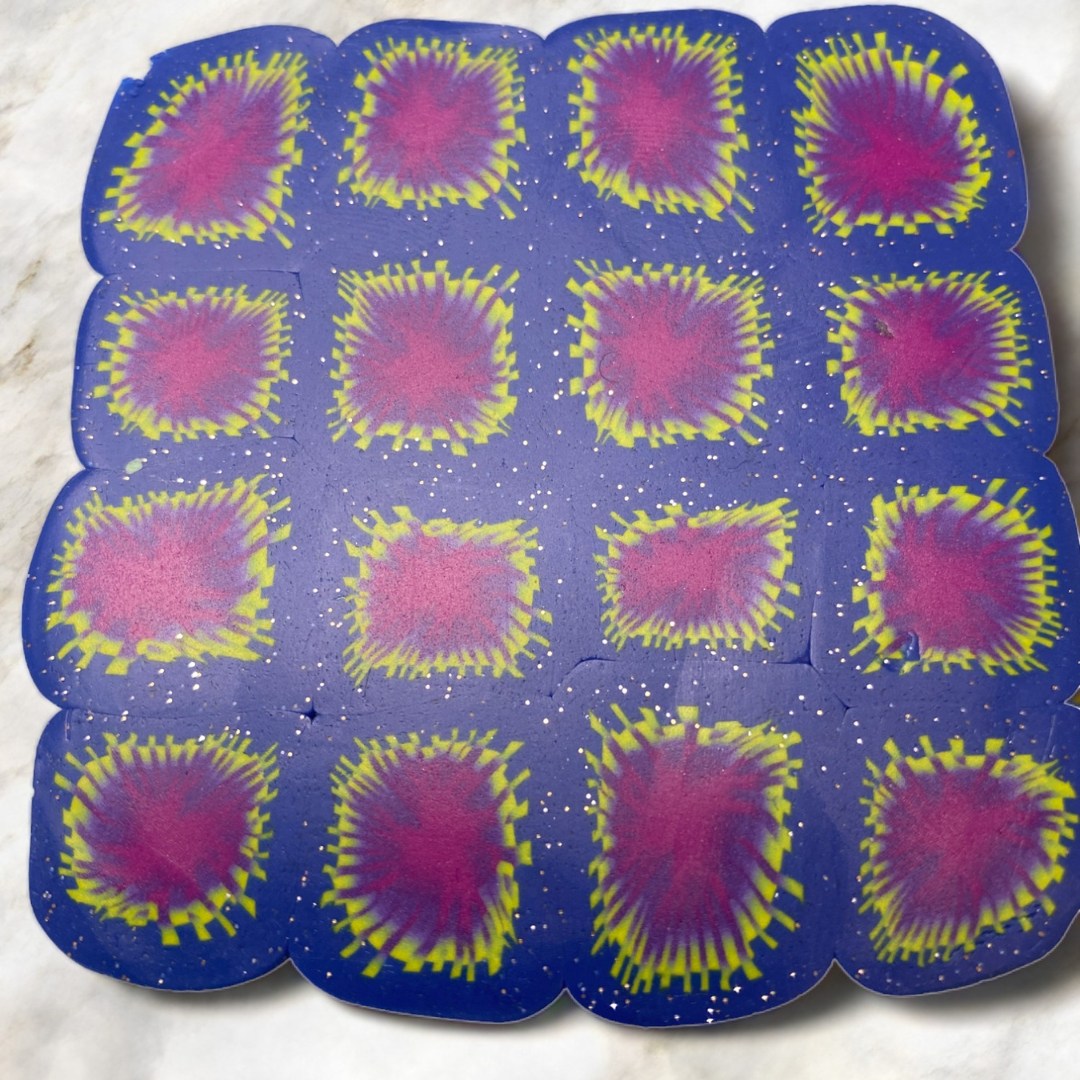
Taking it up a notch in complexity, we've got mosaic slabs. For these, we take cane slices and press them onto the background. Generally, we’ll use a thinner background slab for these, as the cane slice will add another entire layer. It’s kind of a dance between base slab thickness and cane slice thickness. The two layers should add up to about the same thickness of a slab made on the pasta machine’s thickest setting. For larger canes, these are usually reduced to about an inch across.
Oh, what’s reducing? Keep reading, I will explain below!
Looking at the diagram and the photo above, you can immediately see why it doesn’t work wonderfully to use a round cane. Putting ‘coins’ of cane side-by-side leaves “holes” between them. While gentle rolling can coax some of the top layer to fill these in, it is at the cost of some distortion of the cane slabs. It works much better to plan a cane shape that will in the evening fill the entire layer with geometric shapes like squares, rectangles, triangles, or hexagons.

One very fun thing about mosaic slabs is that rotating the cane slices into different orientations can make totally different looks. We can create patchwork quilts of clay colors and patterns, adding an extra layer of complexity with intricate secondary patterns that make our creations pop.
These diverse slabs become our storytellers. With careful arrangement of colors and
What on Earth is Reducing a Cane?
And now, let's unravel the magical world of reduction. Picture this: a visit to an old-fashioned candy store. You see intricate cut rock candy, wonder how those tiny designs get inside, and then witness the magic. The candy-maker holds a warm, soft candy about 6 inches in diameter, with a Christmas tree inside a pretty border. Then, like a slow-motion miracle, the candy-makers stretch and stretch and stretch it into a thin piece only about 1/2" in diameter. Cutting this into pieces shows that the Christmas tree design stays just as distinct and detailed, like a holiday marvel in each piece.
Now, think of reducing in polymer clay just like that. As we gently roll and elongate the clay, the intricate design within stays intact. It's a bit like our candy adventure, where size diminishes, but the artistry endures.
So there you have it, my eager polymer clay pals. As you embrace the log, cane, slab and reduction techniques, remember the sweet inspiration from that candy store visit. The magical transformations in polymer clay are like the miniature Christmas trees in those candy slices – a testament to the wonders of creative expression. Keep experimenting fearlessly, and watch your polymer clay creations unfold into vibrant expressions of imagination. Happy sculpting, my crafty comrades! 🌈✨