The Finished Pair of Polymer Clay Earrings: A Rock-Solid Tutorial

Darling, feast your eyes on these absolutely cairn-tastic polymer clay creations! These little beauties are called Cairn earrings because they look like those delightfully precarious piles of colorful stones that hikers leave behind – except these won't tumble down the mountainside when a chipmunk sneezes. With their charming little accent beads nestled between the main attractions, they're proof that sometimes the best jewelry is just a stone's throw away from perfection. Don't let their sophisticated appearance fool you, sweetpea – they're more straightforward than a teenager asking for money!
Four Different Colors of Clay
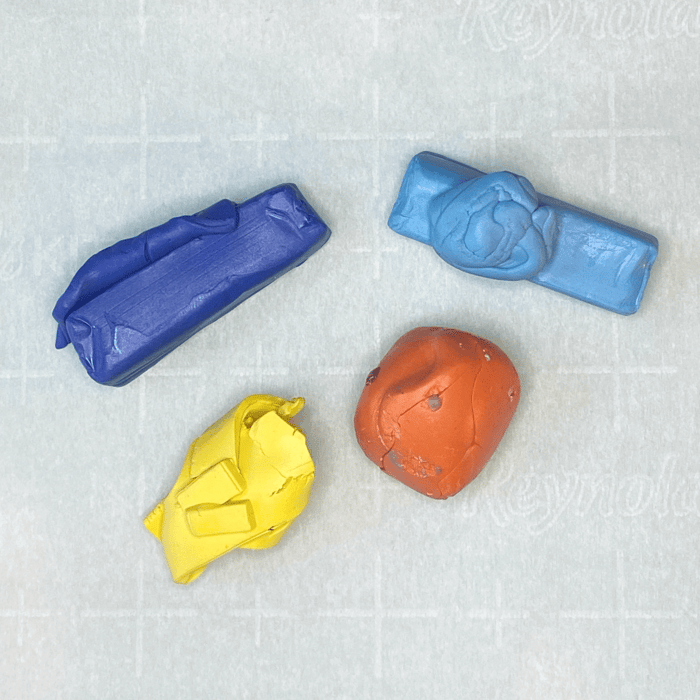
Here we have our leading players: royal blue, turquoise, orange, and yellow clay – a polymer clay color palette so bold it could stop traffic! The secret to maximum pop is choosing colors that contrast like a diplomat and a used car salesman. Of course, if you're feeling adventurous and want to explore the road less traveled, by all means, march to the beat of your own color wheel, you creative rebel!
Four Sheets of Clay with Circular Cutters
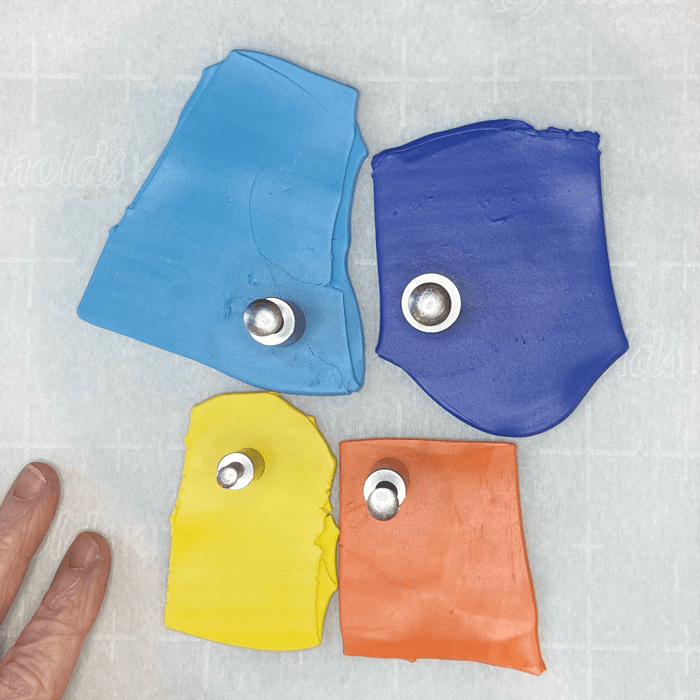
Time to gather your circular accomplices! No proper cutters in your toolkit? Don't have a meltdown – get resourceful! Raid your kitchen drawers for different-sized straws, pilfer some pen tops, or commandeer bottle caps. We're using these trusty tools to ensure our beads are more uniform than a military parade. One cutter per sheet, roll each circle into a perfect sphere, and voilà – consistency that would make a Swiss watchmaker weep with joy!
Cut Circles and Rolled Beads
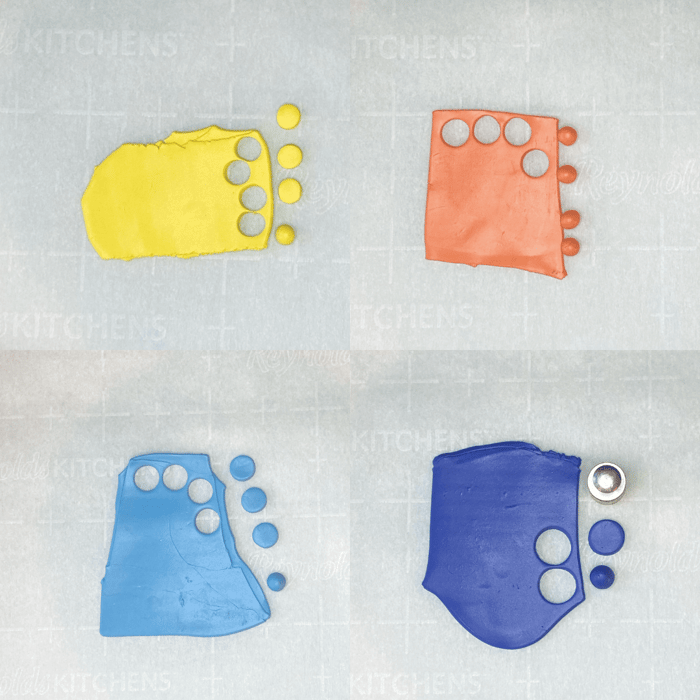
Here's where the magic happens, darling! Each sheet of polymer clay surrenders its circular secrets, and we transform those flat little discs into three-dimensional works of art. It's like watching clay metamorphosis – utterly bead-azzling!
Beads Lined Up in Order
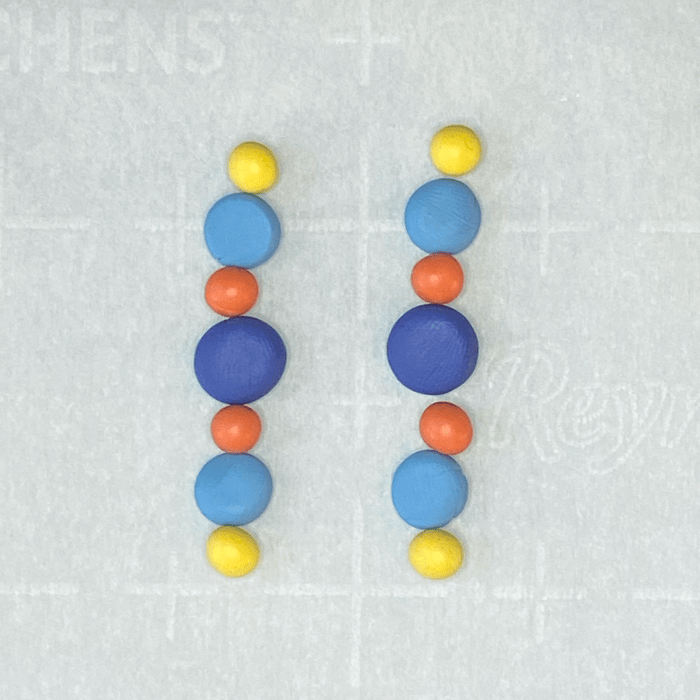
Behold our little soldiers, all lined up and ready for duty! Notice how those blue beauties have been given a gentle squeeze to achieve that authentic cairn-stone silhouette. They're flattened just enough to look like they've been weathered by mountain winds and philosophical contemplation. It's all about that natural, "I've been sitting on a hiking trail for centuries" vibe!
Beads on Pins in Bead Tray
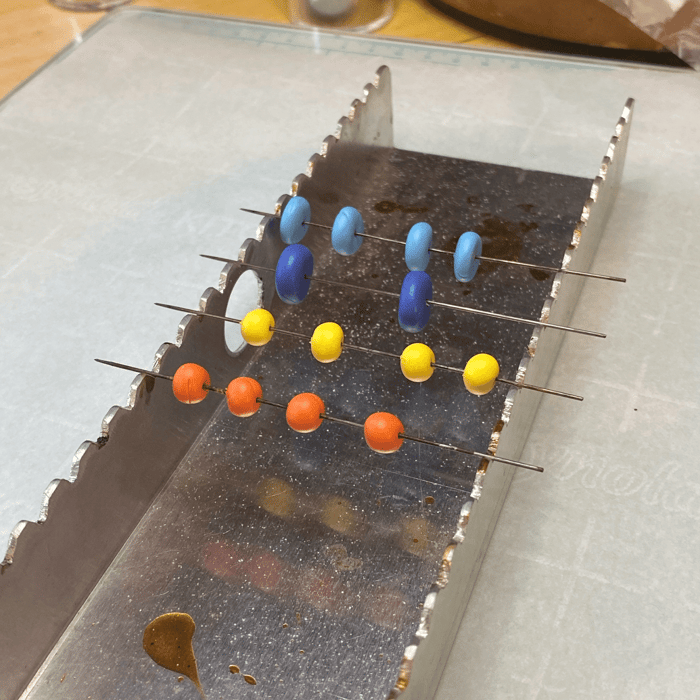
Before these little gems take their hot spa treatment in the oven, we're playing pin cushion! I've carefully inserted bead pins into each one's center – or as close as my slightly caffeinated hands could manage. No bead pins? No problem! An 18-gauge wire draped over a small metal pan will do the trick beautifully. Sure, you could just plop them on the oven surface, but unless you want shiny spots and wonky shapes, stick with the pin method – it's the difference between elegant and "oops!"
The Baked Beads
Well, well, well – look who got a little more fired up than expected! My oven apparently had some temperature tantrums that gave our colorful polymer clay cast a deeper, more dramatic look. They're like the moody, brooding cousins of their former bright selves, but still absolutely gorgeous together. Sometimes happy accidents make the most interesting jewelry – embrace the darkness, darling!
Artistic Wire and Needle-Nose Pliers
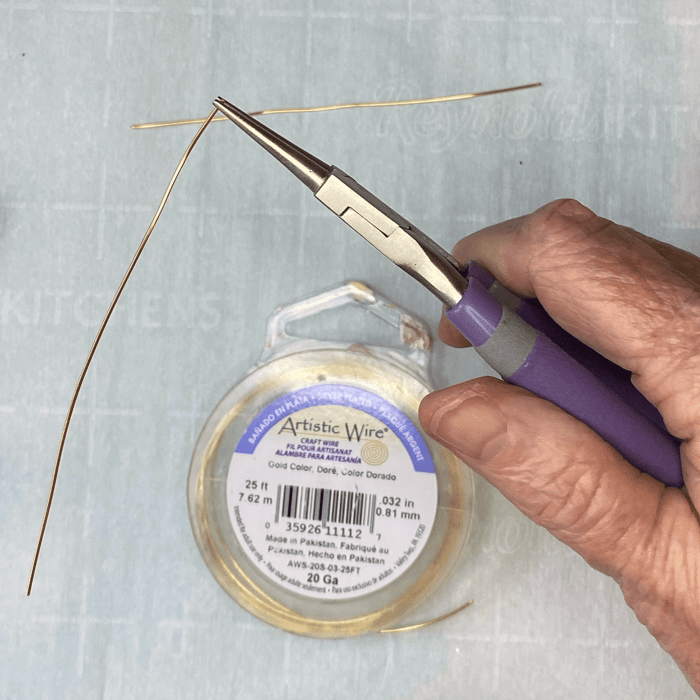
Enter our supporting cast: gorgeous gold-colored 20-gauge wire that's about to become the backbone of our operation. We need to create a little safety net at the bottom so our precious beads don't take an unscheduled dive to the floor. While you could use a store-bought head pin, finding ones long enough for this design is harder than finding a parking spot at the mall during the holidays. Instead, I'm making a tiny spiral with needle-nose pliers – it's like jewelry origami!
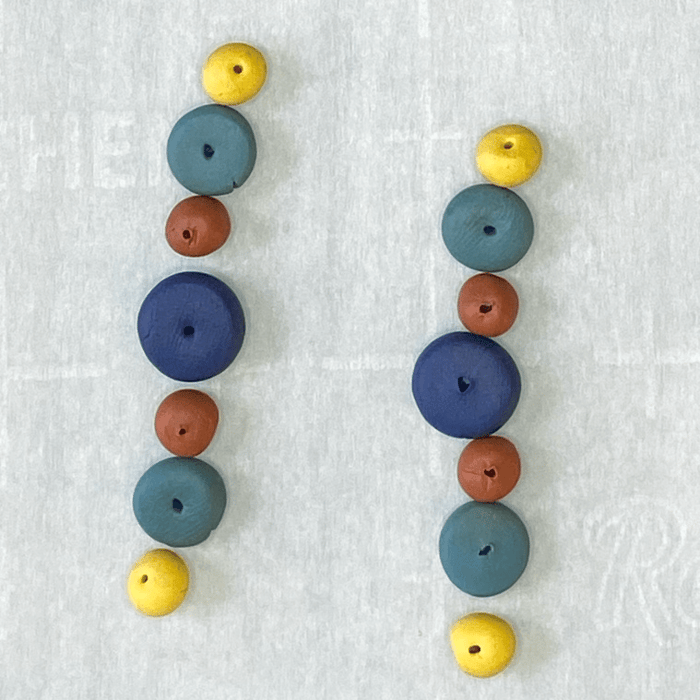
The Strung Beads
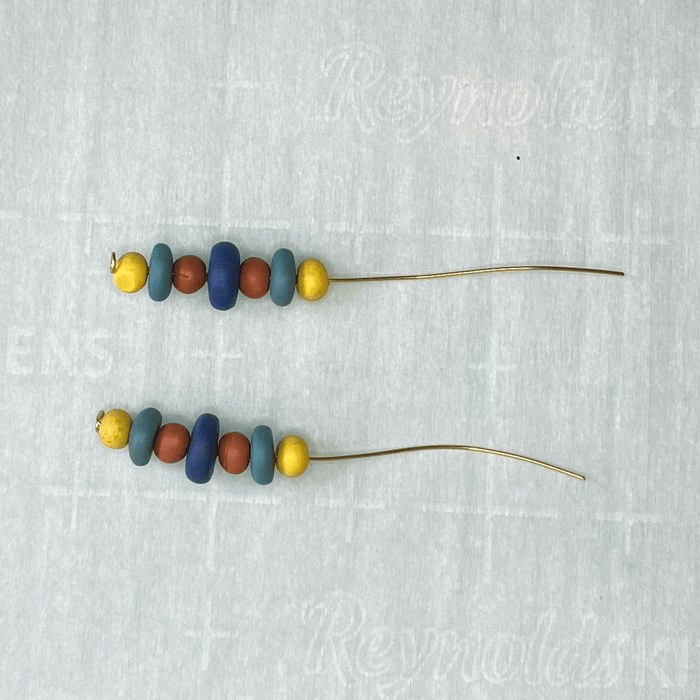
Stringing along nicely, aren't we? Once you've arranged your beads in an order that makes your heart sing, create a loop at the top and slip in that ear wire before sealing the deal. It's like closing a perfect chapter in a very short, very beautiful book!
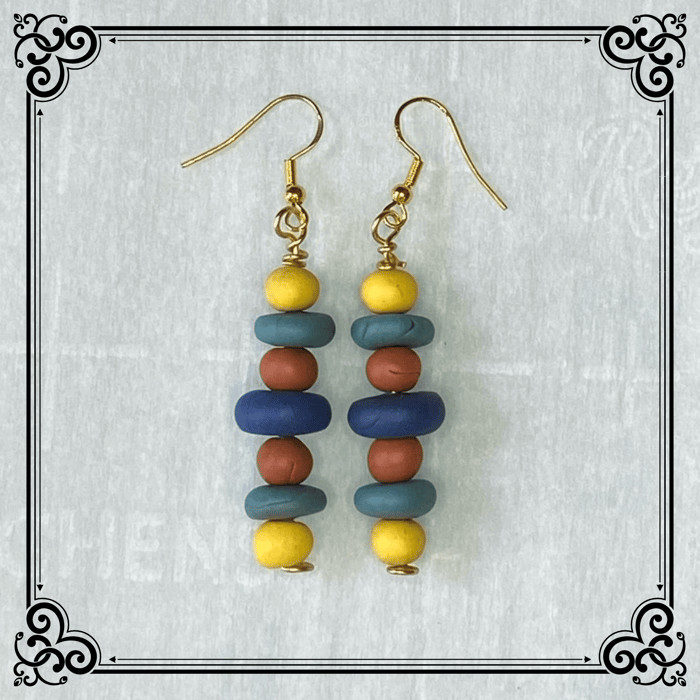
Finished Earrings
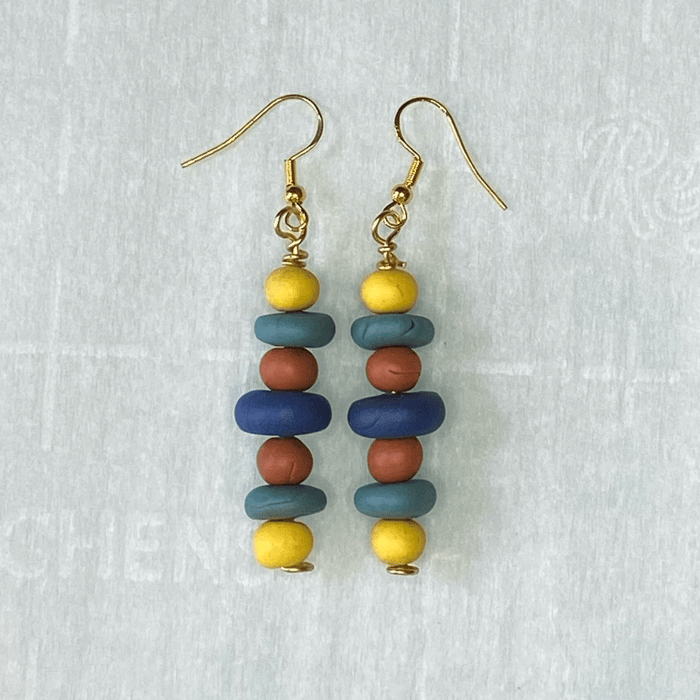
And there you have it, you magnificent creator – your absolutely stunning finished polymer clay earrings! You've just turned humble clay into wearable art that would make any mountain jealous. These little rock stars are ready to grace your ears and garner compliments wherever you roam. Now go forth and dazzle the world, one cairn at a time!