Polymer clay is a fabulous material that lets you combine precision and creativity to make amazing creations. As you get started, mastering even the simplest techniques can open doors to a world of intricate designs. In this tutorial, I show you how to make one basic polymer clay cane, focusing on precision and technique. Let's roll up our sleeves and get started creating the easiest polymer clay cane!
Choose Highly Contrasting Colors
First, choose two highly contrasting polymer clay colors.

I am using pale green and black. Other examples of high-contrast combos include:
(1) black and white
(2) bright blue and white
(3) pale pink and black.
This contrast becomes important later when you reduce the cane (make it smaller). With high contrast the colors remain distinctive, giving you an eye-catching graphic design. Even in simple designs like this, the right color combination gives you stunning results.
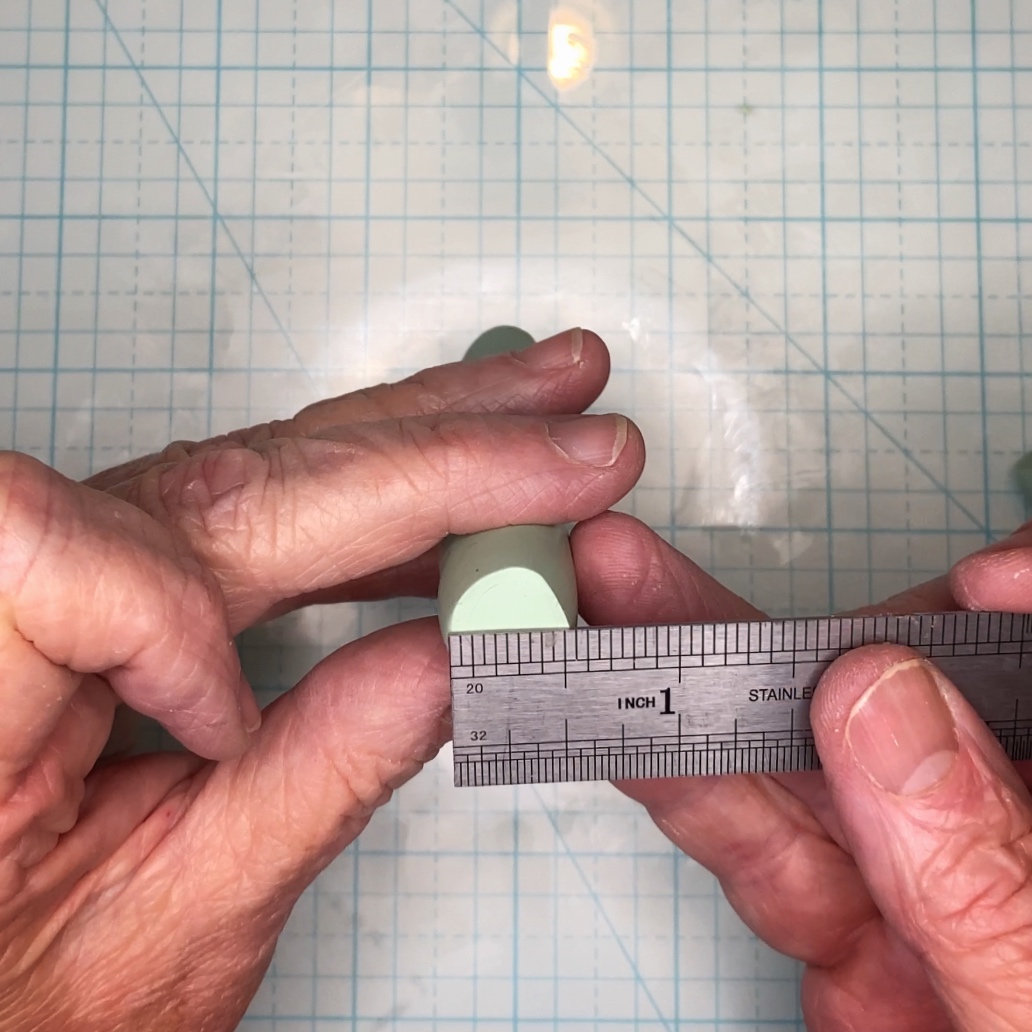
Shape the Base Log
Start by molding one of your colors into a log shape, about 3 inches long and 1/2 inch in diameter. Experiment with rolling the log around, squishing it to make it shorter, rolling it to make it longer, until you have a really circular log.

You can roll your clay into a ball again, and start your log over again as many times as you need. Making a precise even log is the foundation for the rest of the cane.
Roll Out the Second Color
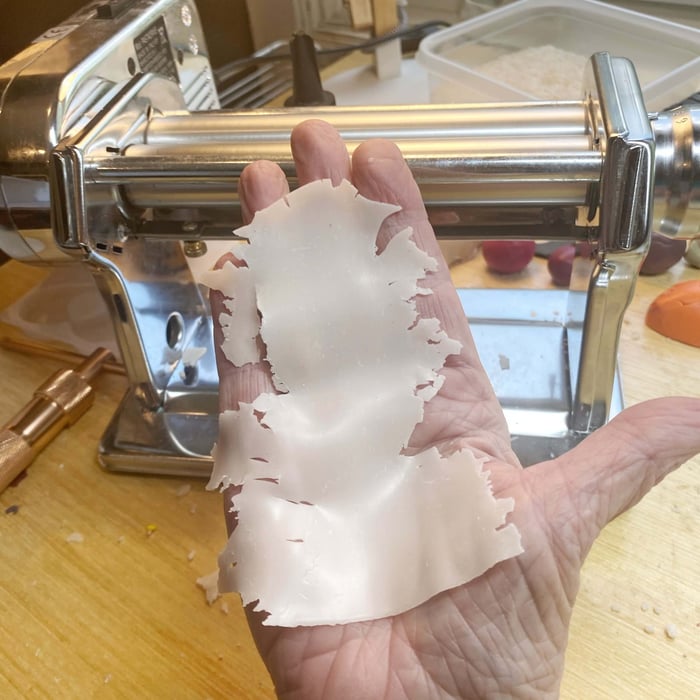
Take your second color and roll it into a thick sheet, roughly 2.5 mm thick, using the #1 setting on your pasta machine. Alternatively, you can use any sort of roller over popsicle sticks or stacked playing cards. This step requires careful attention to keeping the thickness uniform since this directly influences your final appearance.
Square Off the Sheet
Using a utility knife or tissue blade, square off the bottom, top, and one side of the rolled-out sheet.
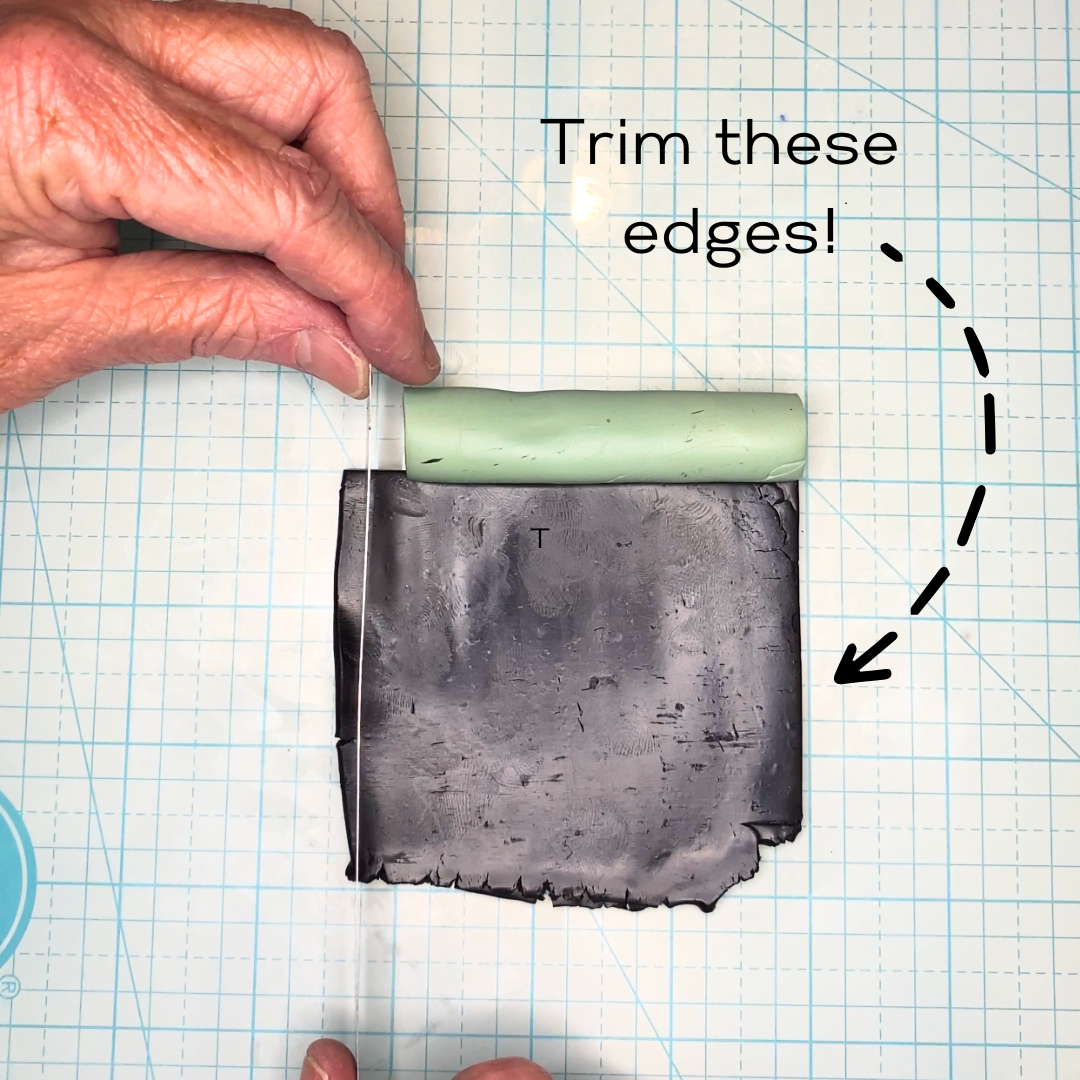
This precise squaring-off process ensures a clean and symmetrical log, important for your final cane appearance.
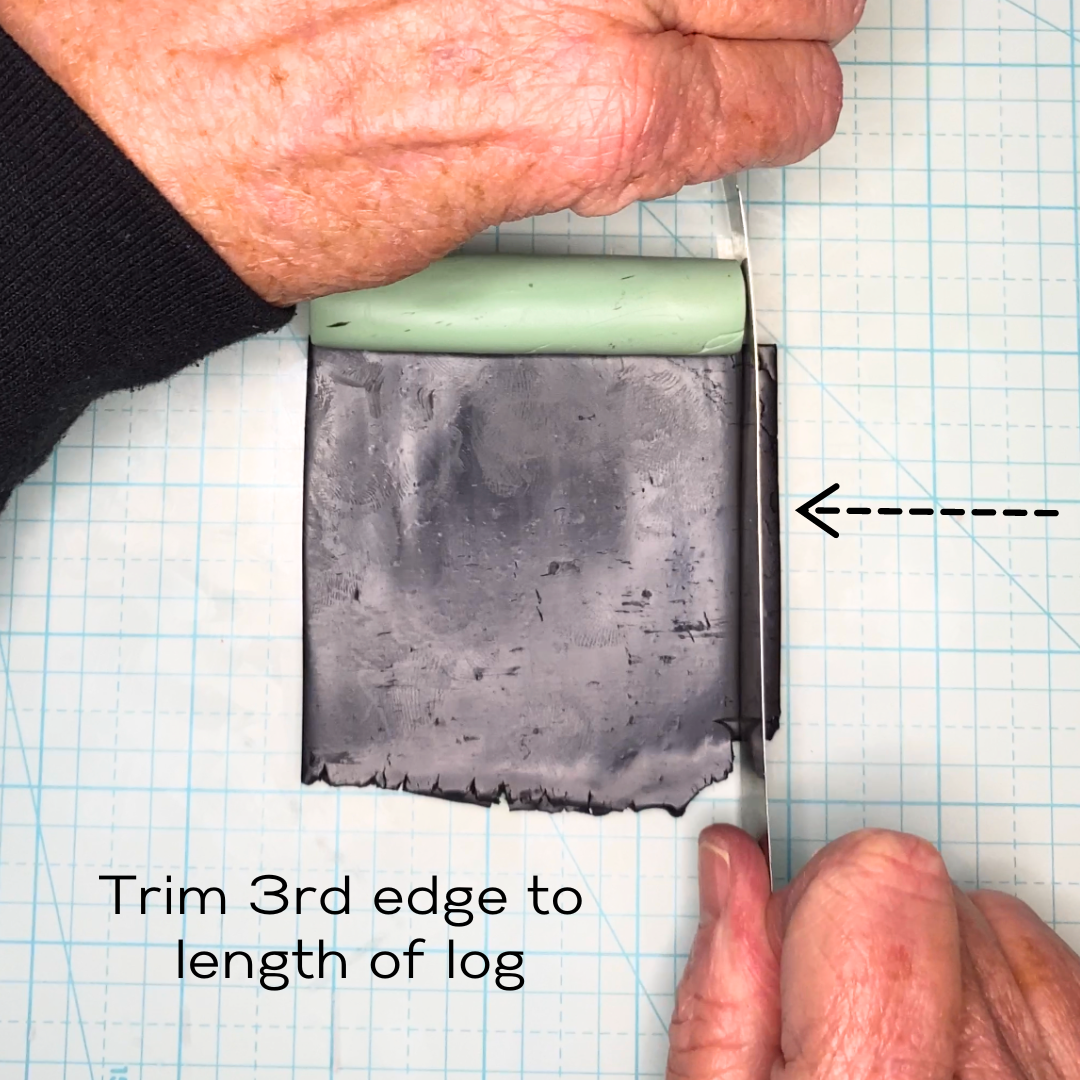
Position the Log for Covering
Lay the polymer clay log onto the squared sheet and make a parallel cut along the second side of the log. A little too long is fine, but don’t use a cover sheet shorter than the log!
Ensure Complete Coverage
Perform a trial roll of the sheet around the log to check if your sheet is the right size without gaps.

If you can’t cover the entire log in a single sheet, you might need to wad up the clay and roll it out again. Contour the sheet to create a shape that will seamlessly encircle the log.
Cover the Log
Wrap your sheet around your log. As you are almost done, gently press the edge of the sheet into itself, the clay sheet beneath, leaving a slight impression.

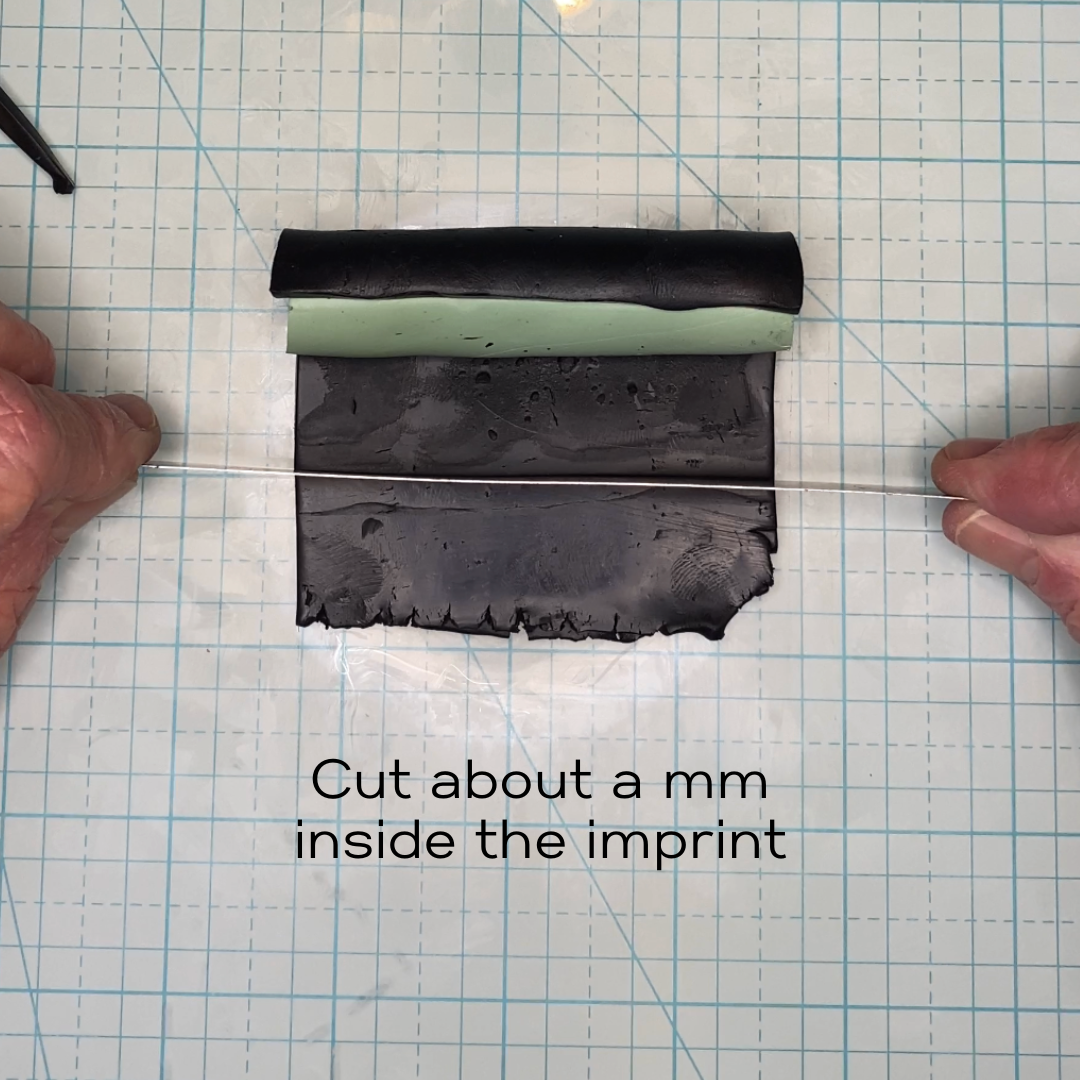
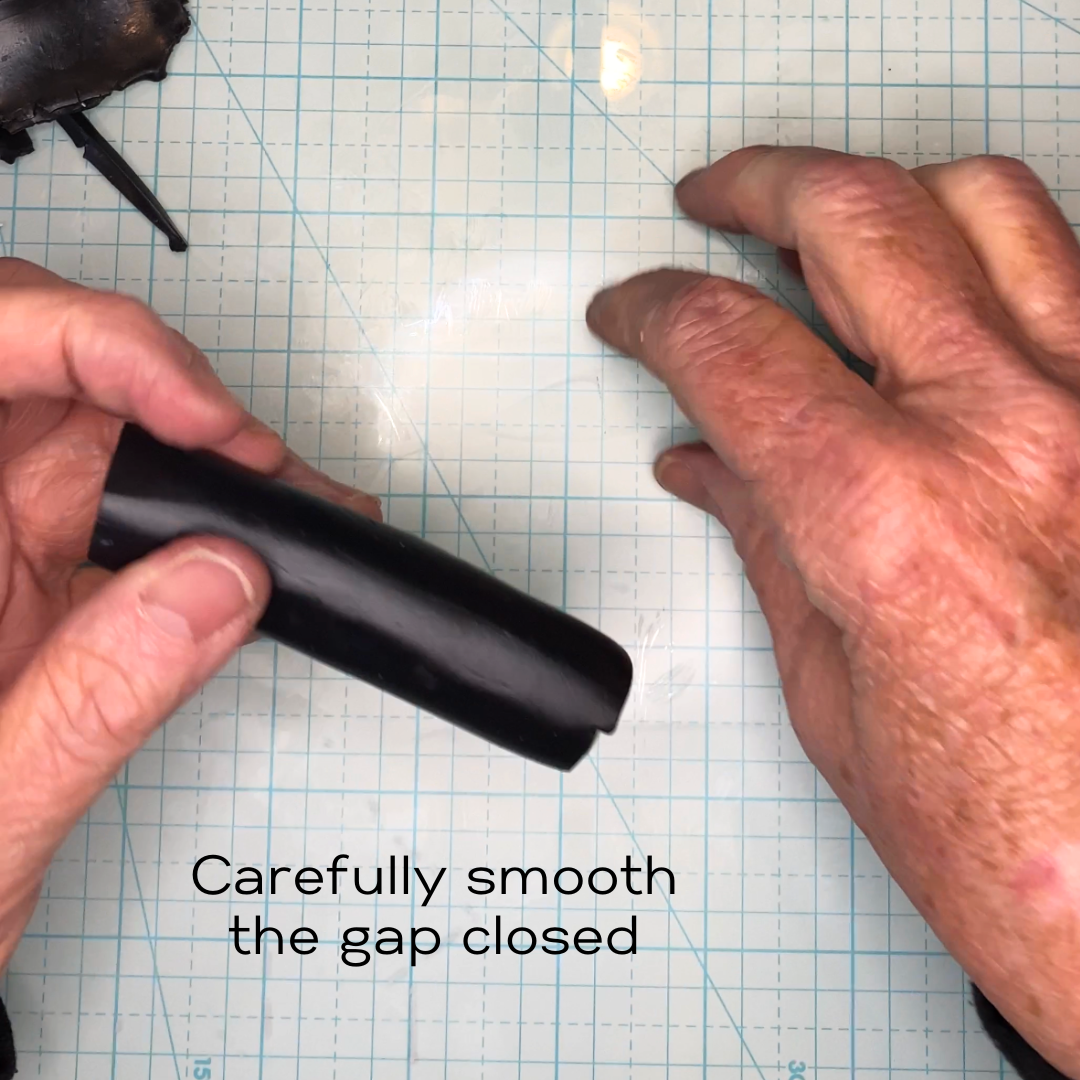
Cut and Seal the Seam
Using a tissue blade, make a precise cut approximately 2 mm inside (toward the log) of the impression line.
Carefully smooth the edges of the seam together to make a seamless layer of the sheet around the log.
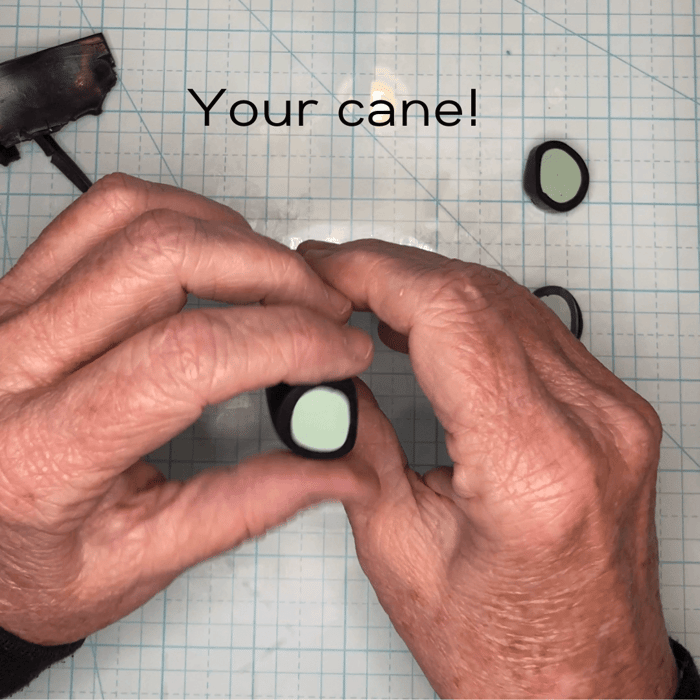
Finishing Touches
Trim the ends of the log back enough to reveal the complete design on both ends, showing the color contrast and the precision of your craftsmanship.

Celebrate Your Achievement
Congratulations! You've successfully crafted your first polymer clay log. It might seem simple, but this foundation technique is an essential building block for more complex canes and slabs. Your attention to detail and precision have laid the groundwork for fabulous work ahead!

This log cane is just the beginning of your polymer clay journey. In the next blog post, I’ll introduce you to the fascinating process of reducing the log cane to various sizes. Then I’ll show you how to use these different-sized canes to create a stunning retro slab.
On your polymer clay journey, know that each step in your learning is important to your polymer clay mastery. With dedication, lots of practice, and an inquiring mind, you'll keep moving along the road of enjoyment, creativity, and artistic expression. Bon Voyage!!
Visit our vivid and harmonious polymer clay color palettes. These tutorials have precise color-mixing instructions and recipes!!